Some Basics
Purpose
Review HTML and CSS, plus some new CSS concepts to enhance your website.
Instructions
Review HTML
Download the starter files: Goats`R Us website (download). We will be using this website to demonstrate some accessibility concepts in the following weeks.
-
Take a moment to familiarize yourself with the HTML and CSS of this website:
- index.html
- breeds.html
- products.html
- orderCheese.html
- style.css
-
Run the Axe accessibility checker on each page. So far, we only have issues on our
orderCheese.htmlpage, which we will address later in the unit. Do not worry about fixing these errors yet. -
Notice each page uses the
lang="en"attribute. -
Notice that each HTML document has a unique
<title>content. -
Review the HTML document structure. Each page has a
header,main, andfooterelement. Remove themainelement from theindex.htmlpage and rerun Axe to see the error.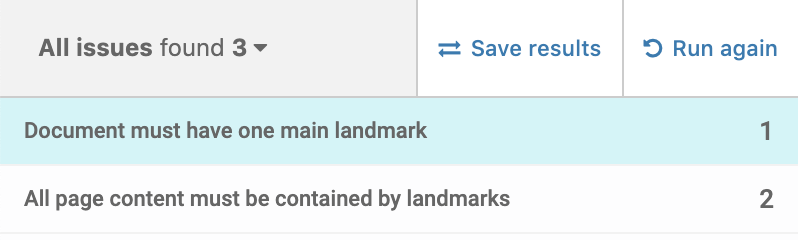
The
mainelement is considered a "landmark" and each page must have a<main>element. Additionally, all content must be contained in landmark elements, such asmain,nav,header,footer, oraside.Place the
mainelement back, so that the Axe error goes away. -
Review the headers used on the products page. Change one of the
h3elements to anh4and rerun Axe to see the error.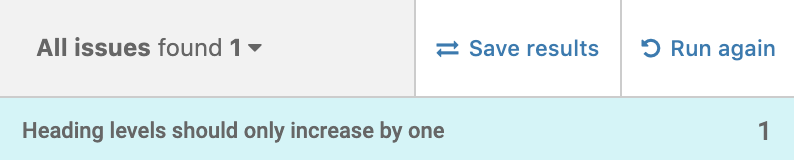
Change back the header to be an
h3.
Meta description
- Add a description
metatag to each HTML page. Fill in the content, so it is unique and descriptive for each page. Why is having this element important? If you are unsure, look back to the SEO lecture.
<meta name="description" content="informative description here">
Google Fonts
The video was recorded during a later version of the Google Font UI.
-
Go to Google Fonts. Familiarize yourself with the site, you can find hundreds of fonts in different font-families.
-
Search for
Arimaand click on the search result.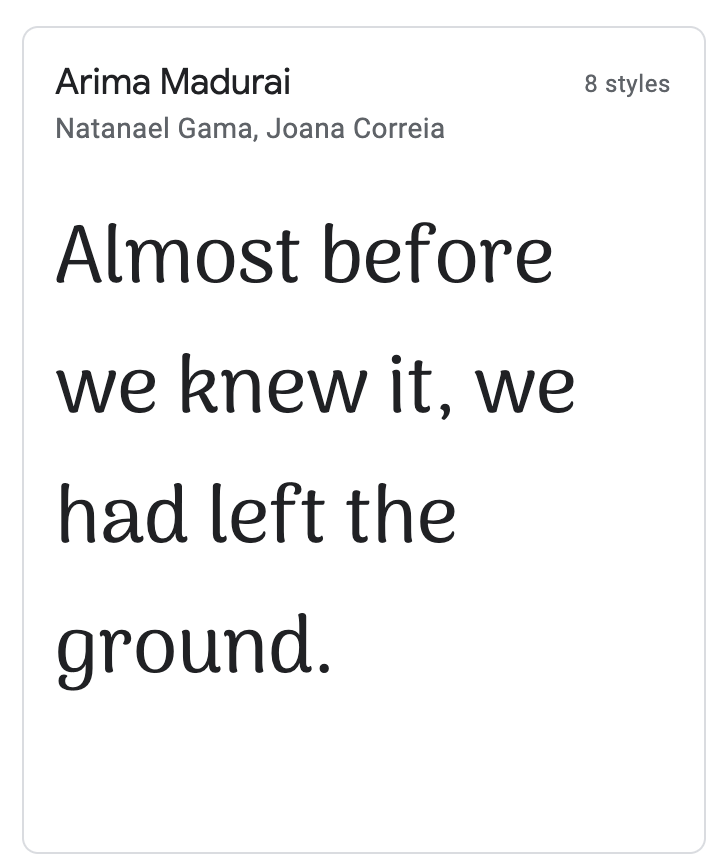
-
Scroll down and select Regular 400 and Bold 700.
-
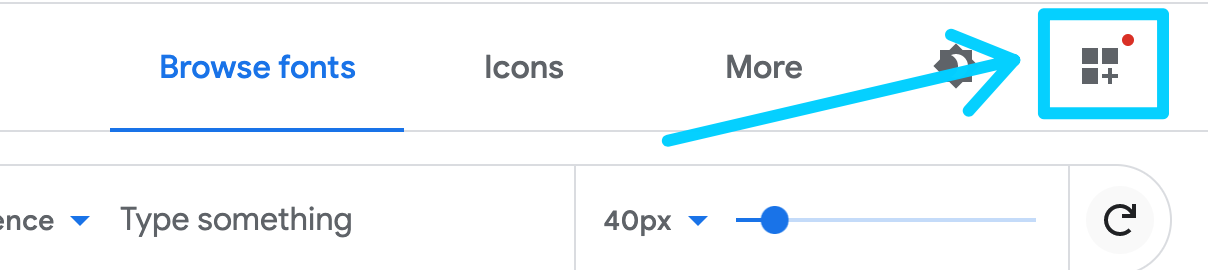
Click on the upper-right icon to View your selected families.
-
Copy the code under the link radio button.
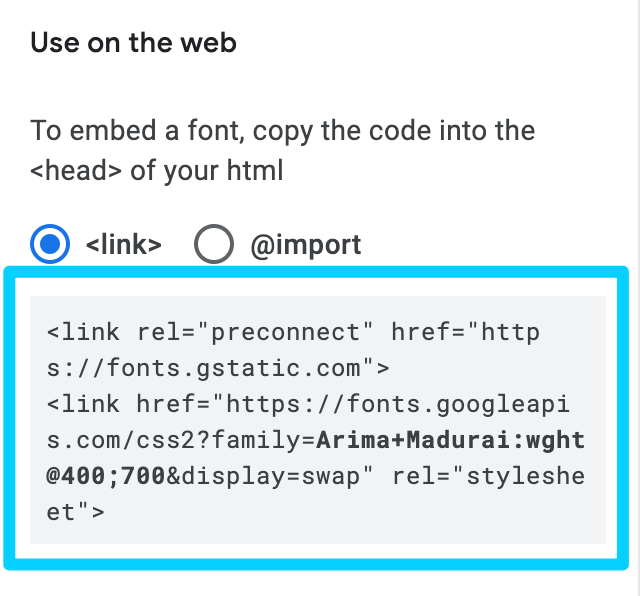
-
Paste this into your
<head>section of each HTML page. -
Copy the
font-family: 'Arima Madurai', cursive;property/value pair. Add this to yourh1andh2styles.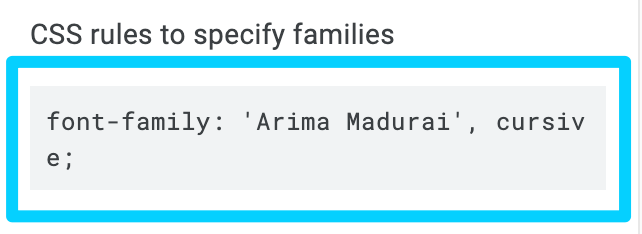
-
Add the
font-weight: 700property/value to theh1styles to use the bold font-weight.
Sticky footer
Our footer element begins where the main element content ends. On the index.html page, this causes our footer to not be at the bottom of the page. The below code will create a "sticky footer" so that the footer content will always be at the bottom of the page.
This uses some advanced CSS concepts that you will learn in the Advanced CSS course. But, because our website is divided into landmarks (header, main, footer), this code forces the main element to fill up as much space in the viewport as possible, forcing the footer to the bottom.
Copy this code into the .css document
/***********************************
Sticky Footer
https://css-tricks.com/couple-takes-sticky-footer/
http://css-tricks.com/snippets/css/a-guide-to-flexbox
**********************************/
html, body {
    height: 100%;
}

body {
    display: flex;
    flex-direction: column;
}

main {
    flex: 1 0 auto; /* flex-grow, flex-shrink, flex-bais */
}

footer {
    flex-shrink: 0;
}
Link styles
Let's add some styles to our links on the product.html page.
1 Add a style to change the default color, remove the underline from all links, and provide a slight transition so the color changes slowly.
    a {
        color: #A4665E;
        text-decoration: none;
        transition: color 0.5s;
    }
2 Change the color on hover.
    a:hover {
        color: #AAA9AD;
    }
3 The images on the products.html page are also links (just the goat cheese link works). Add a hover style to the images as well.
    a img {
        transition: background-color 0.5s;
    }

    a img:hover {
        background-color: #A4665E;
    }
Challenge (2 extra points)
If you would like a little challenge, answer the following questions in the comments area in the Blackboard submission link.
- Can you locate any violations to the best practices listed in this week's lecture notes? Do not count the Axe errors on the page with the form.
- Does this website pass AA contrast ratio standards? If not, where is the violation?
Submission
-
Open the Week 12 folder in Blackboard
-
Click on the Some Basics submission link.
-
Compress (zip) the entire Goats 'R Us website and submit it to the Blackboard submission link.
-
(Optional) Answer the Challenge questions in the comment section.
-
Click Submit.
Grading Criteria
Points Possible: 4
-
Meta Element (1 pt)
-
Google Fonts (1 pt)
-
Sticky Footer (1 pt)
-
Link Styles (1 pt)
-
Challenge! (2 pt)