Project 2
"There is no such thing as a boring project. There are only boring executions."
— Irene Etzkorn
Project 2 is an individual project. This is not a design class, nor do I expect you to be a professional designer. I do not grade your artistic abilities; instead, I base grades on the successful implementation of DESIGN concepts covered in class and your ability to evaluate user interfaces.


| DESIGN is about | ART is about: |
|---|---|
| Use Alleviation Observation and Iteration Function |
Personal Expression Provocation Exploration Appreciation |
Austin Knight, Sr. UX Designer
Project 2 Overview
For Project 2, you will continue to work on your website from Unit 1 by designing part of the desktop user interface (UI). Using Figma, you will build out a small prototype of these screens.
You will only design the screens required for one of your personas to start their scenario identified in Unit 1. The instructor will "star" the screens from your Project 1 flowchart to indicate which screens to design.
See grading for the minimum number of pages to design for each letter grade.
Don't forget your user!
Remember, this design will be for the persona and scenario identified in Unit 1. Make sure to think about their specific goals, needs, and frustrations while working on your design.
Weekly Tasks
Unlike Unit 1, weekly assignments do not directly contribute to the project. You are responsible for working each week on the project and completing everything by Week 10. Below is a rough outline of things to do each week, but I suggest setting up a plan that works for you.
My Advice For A Successful Project 2 Design:
- Set time aside each week to work on the web designs. This is a fast unit, so it's important to say on task.
- Look at other websites for inspiration, ideas, and often what to avoid!
- Play, practice, and experiment with Figma. Seek out extra tutorials or ask me for assistance.
Suggested Plan
| Week | Project Tasks |
|---|---|
| 7 | - Research designs of a similar genre (or something similar) for inspiration - Build wireframes for all required pages in the PROJECT - Desktop Wireframes page |
| 8 | - Collect colors, images, designs, and other inspiration from last week - Create a Mood board in the WK08: Mood Board Figma page - Finalize wireframes incorporating any feedback your received |
| 9 | - Create a design system in the WK09: Design System Figma page - Copy wireframe to the PROJECT - Desktop Prototype page - Begin to add the design system to the wireframes to create mockups |
| 10 | - Finish mockups incorporating any feedback your received - Add prototype functionality (link pages together) - Complete the self evaluation in the PROJECT - Self Evaluation Figma page - Submit Project 2 to Blackboard |
Project 2 Set-up
1. Figma Design Files
- Your instructor will give you the below files in your Figma project that you created during Week 1. If you did not create a project during week 1 with your name and share it with your instructor, please complete this step now.
- Only you and the instructor can see work in this Figma Project.
- It will contain the four files shown below.

| File | Purpose |
|---|---|
| Examples for Unit 2 | Using the same Chicory House example from Unit 1, this file contains some examples of unit 2 assignments and a desktop prototype. |
| Unit 2 Files | Some assignments and Project 2 will be completed in this file. |
| Component Library | Components are reusable design elements for your project. We will explore components and this file in Week 8. |
| Emoji Evaluation | Component file for a self-evaluation at the end of the unit. 😀 |
2. FigJam Files
- You will receive an invite for collaborative FigJams. All work is still independent, but you will be sharing work with a group in this "team."
- Only your group and the instructor will see your work in the FigJams.
- This will be a different group than your Unit 1 group. Group members will be working on different website designs (if the class size permits).
- It will come with three files shown below.
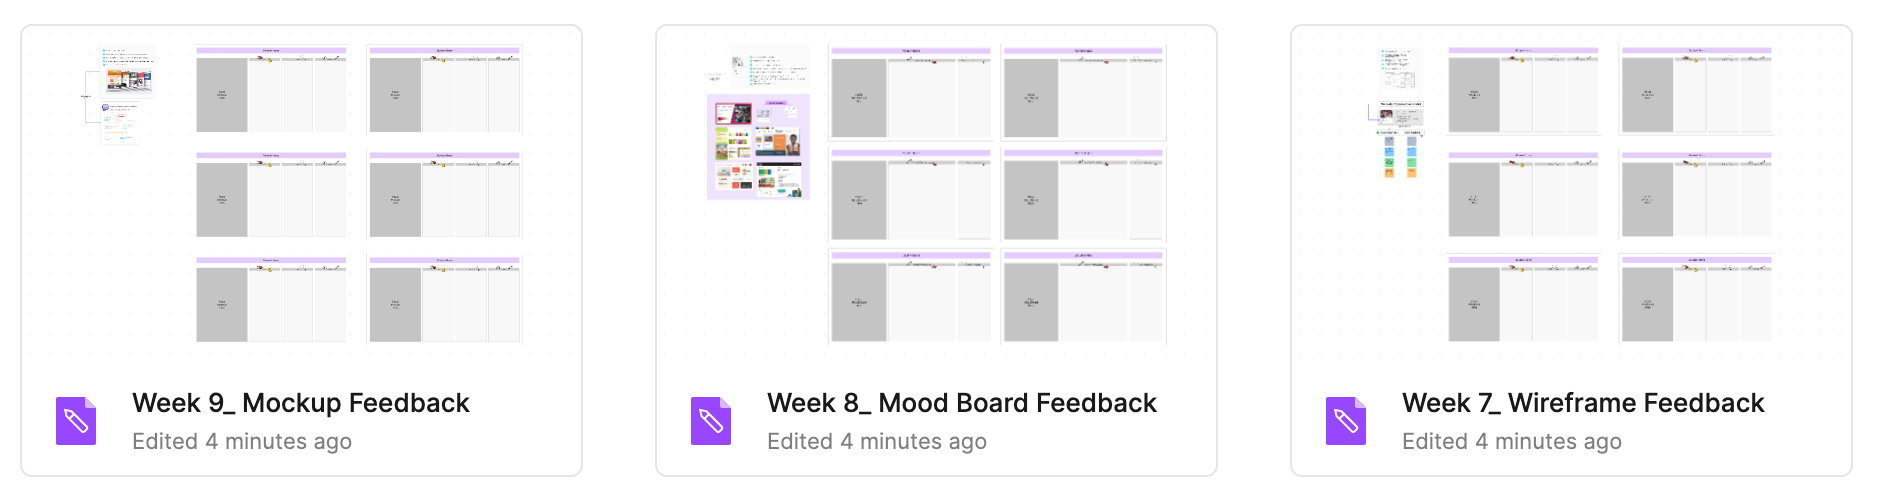
- During weeks 7, 8, and 9 each group member will share part of their design in a FigJam. You will provide feedback on everyone's work and receive feedback on yours.
3. Component Set Up
Components are reusable UI elements. I have created a large library of components for you to use. We will discuss these in more detail later in the use, and learn how to create your own, but for now we will just get you set up.
Publish Component Library
- Open the "Component Library" file.
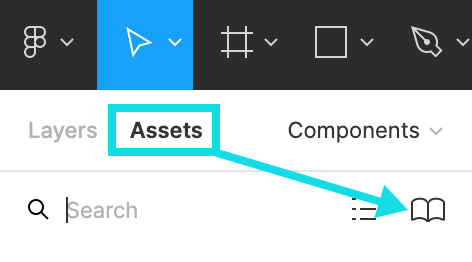
- Click on the Assets tab in the left side panel.
-
Click on the book icon. (see below)
-
In the modal that opens, click the Publish button.
- In the next screen, click the blue Publish button at the bottom.
- Wait for the components to finishing publishing. A success message will appear at the bottom when complete. Be patient, this may take a couple of minutes to complete.
- Repeat for the Emoji Evaluation file
Add Components to File
- Open the file called "Unit 2 Files".
- Click on the Assets tab in the left side panel.
- Click on the book icon.
-
In the modal that opens, click the "Add to file" button to use the newly published Components.
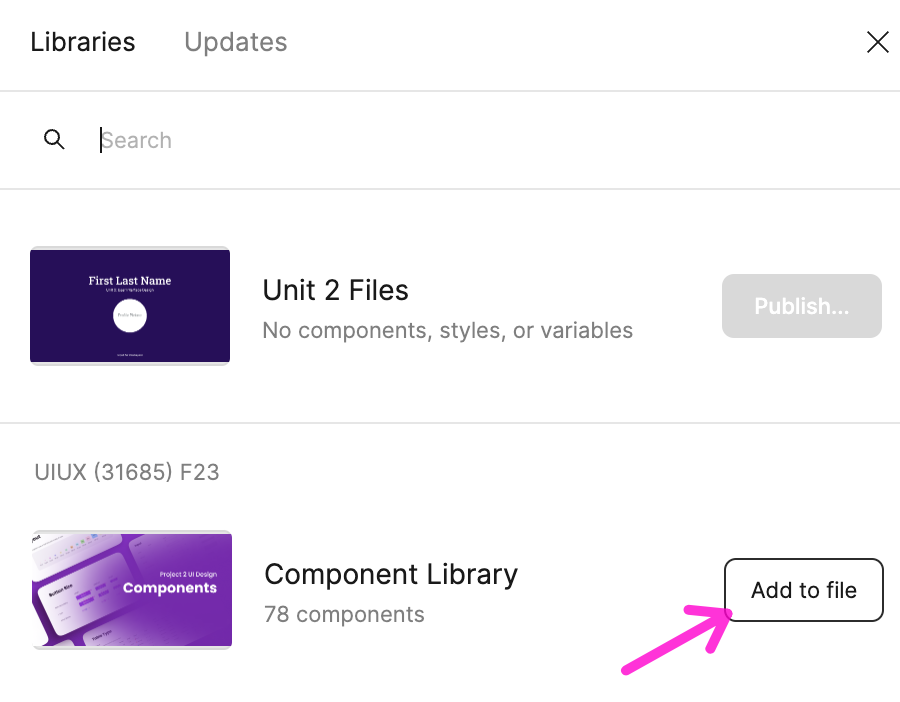
-
Repeat these steps for the Emoji Evaluation components
Project Requirements
Two pages in the Unit 2 Files are for your Project.
- The PROJECT - Desktop Prototype page will be used to create a the wireframes, mockups, and prototype of your website.
- The PROJECT - Self Evaluation page will be used to reflect and document your successes and what could use improvement.
Step 1 - Wireframes
Weeks 7 & 8
- Create a frame in Figma for each page you need in the PROJECT - Desktop Prototype. Look back to your Flowchart from Unit 1 to determine what web pages you need. I have starred the pages for you!
- Build wireframes for each page.
- Keep everything in grayscale (unless it's a pre-made component)
- Occasionally view your designs at 100% to accurately see the scale of elements.
- Keep paragraph text around 16 pt (OK to be lorem ipsum).
- All headings, links, navigation items, and other important information should be REAL text.
- IMPORTANT: Make each font style it's own text box. For example, don't have a text box with bold and regular text or different sizes. Create a new text box for EACH font style - this will be crucial when checking for contrast errors later.
Step 2 - Mockups
Weeks 9 & 10
- Using your Design System from Week 9, add imagery, color, and fonts to your copied wireframe designs.
- You may also choose to make a copy of your wireframes before transforming them into mockups.
- Text that any text and background colors pass AA contrast ratios. Use a contrast checker of your choosing.
Step 3 - Prototype
Week 10
this step should only take a few minutes to complete
- In the mockups you build in Step 2, add active links using the prototype panel in Figma.
- Make sure to test that the prototype works in Present Mode.
Step 4 - Evaluate
Weeks 7 & 10
- Constantly evaluate your work.
- A final documentation, located in the PROJECT - Self Evaluation page will be turned into Blackboard.
Examples
Refer to my examples in Examples for Unit 2 frequently for guidance. However, please do not copy my work - use it for inspiration or guidance in organizing layers. Here is an example of a complete design. Notice the attention to detail, consistency, and personalization.
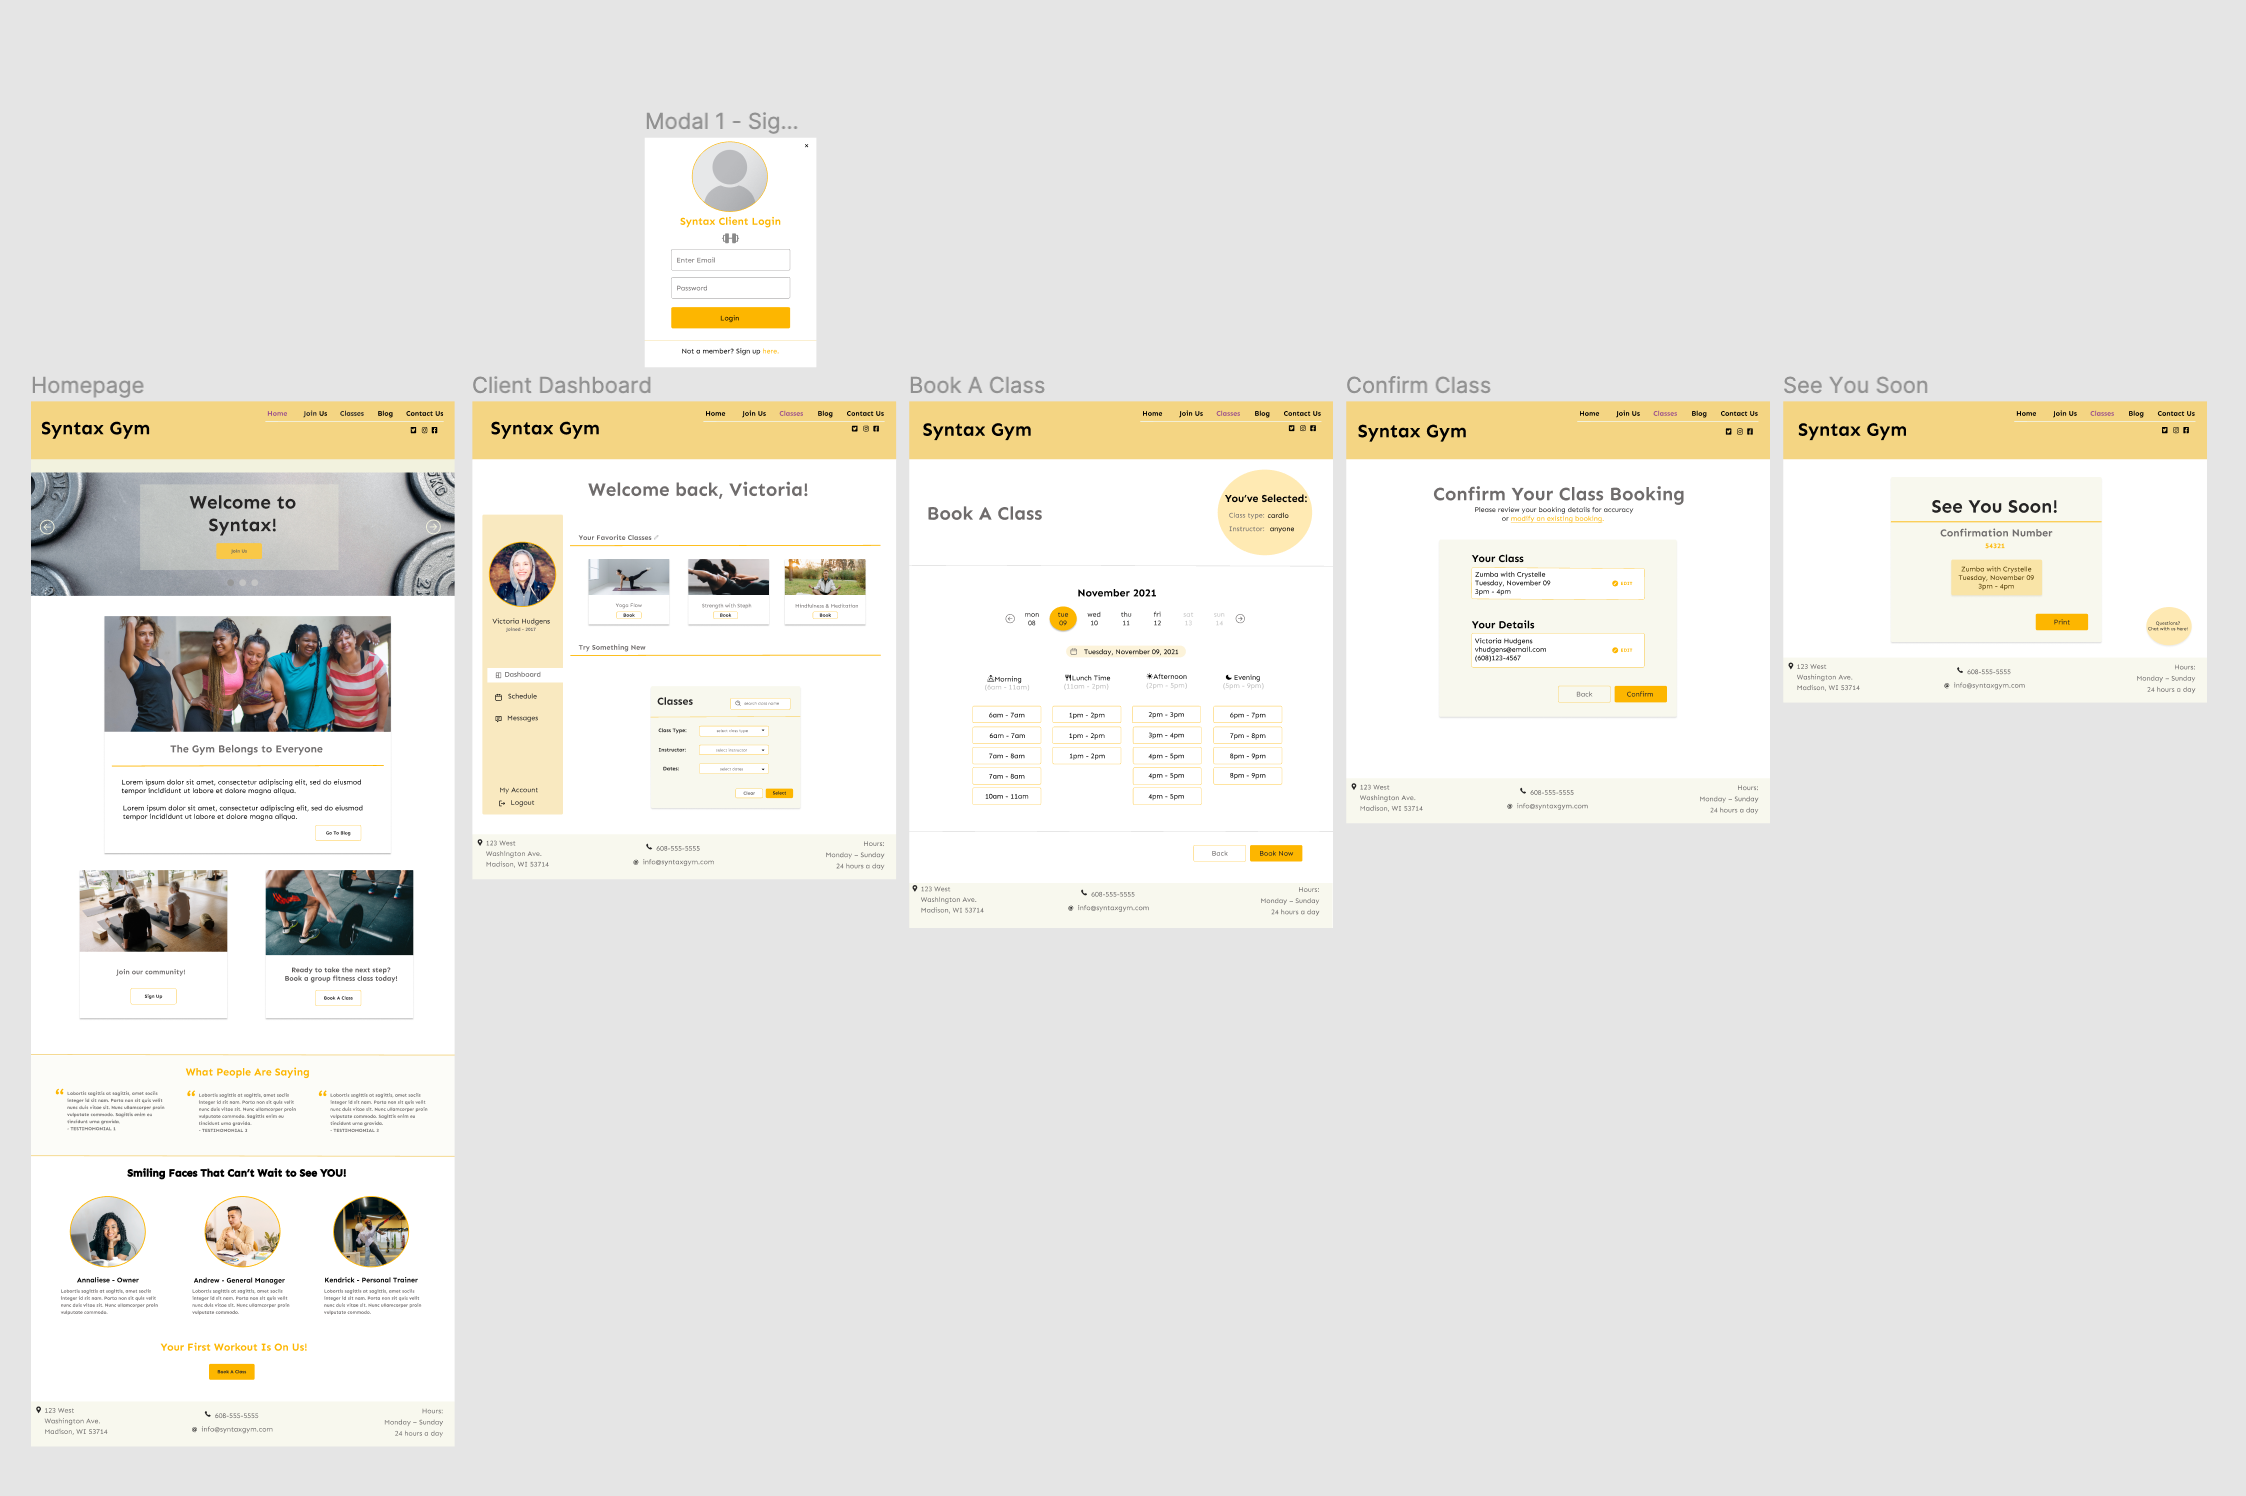
Note on Above Example
This example has 6 screens. Your project dose not need that many screens. However, continuing the design to demonstrate the completion of the task is encouraged for a portfolio piece!
Grading
To be considered for the following letter grade for this project, you must complete the minimum number of page designs as follows:
- Model dialogs or "pop-up" screens do not count as a page.
| Letter Grade | Minimum # of Completed Pages |
|---|---|
| A | 4 |
| B | 3 |
| C | 2 |
See Submitting Project 2 for the remaining Grading Criteria.