Week 10 Learn & Practice - Forms
Textbook
- Chapter 9: Forms
Forms
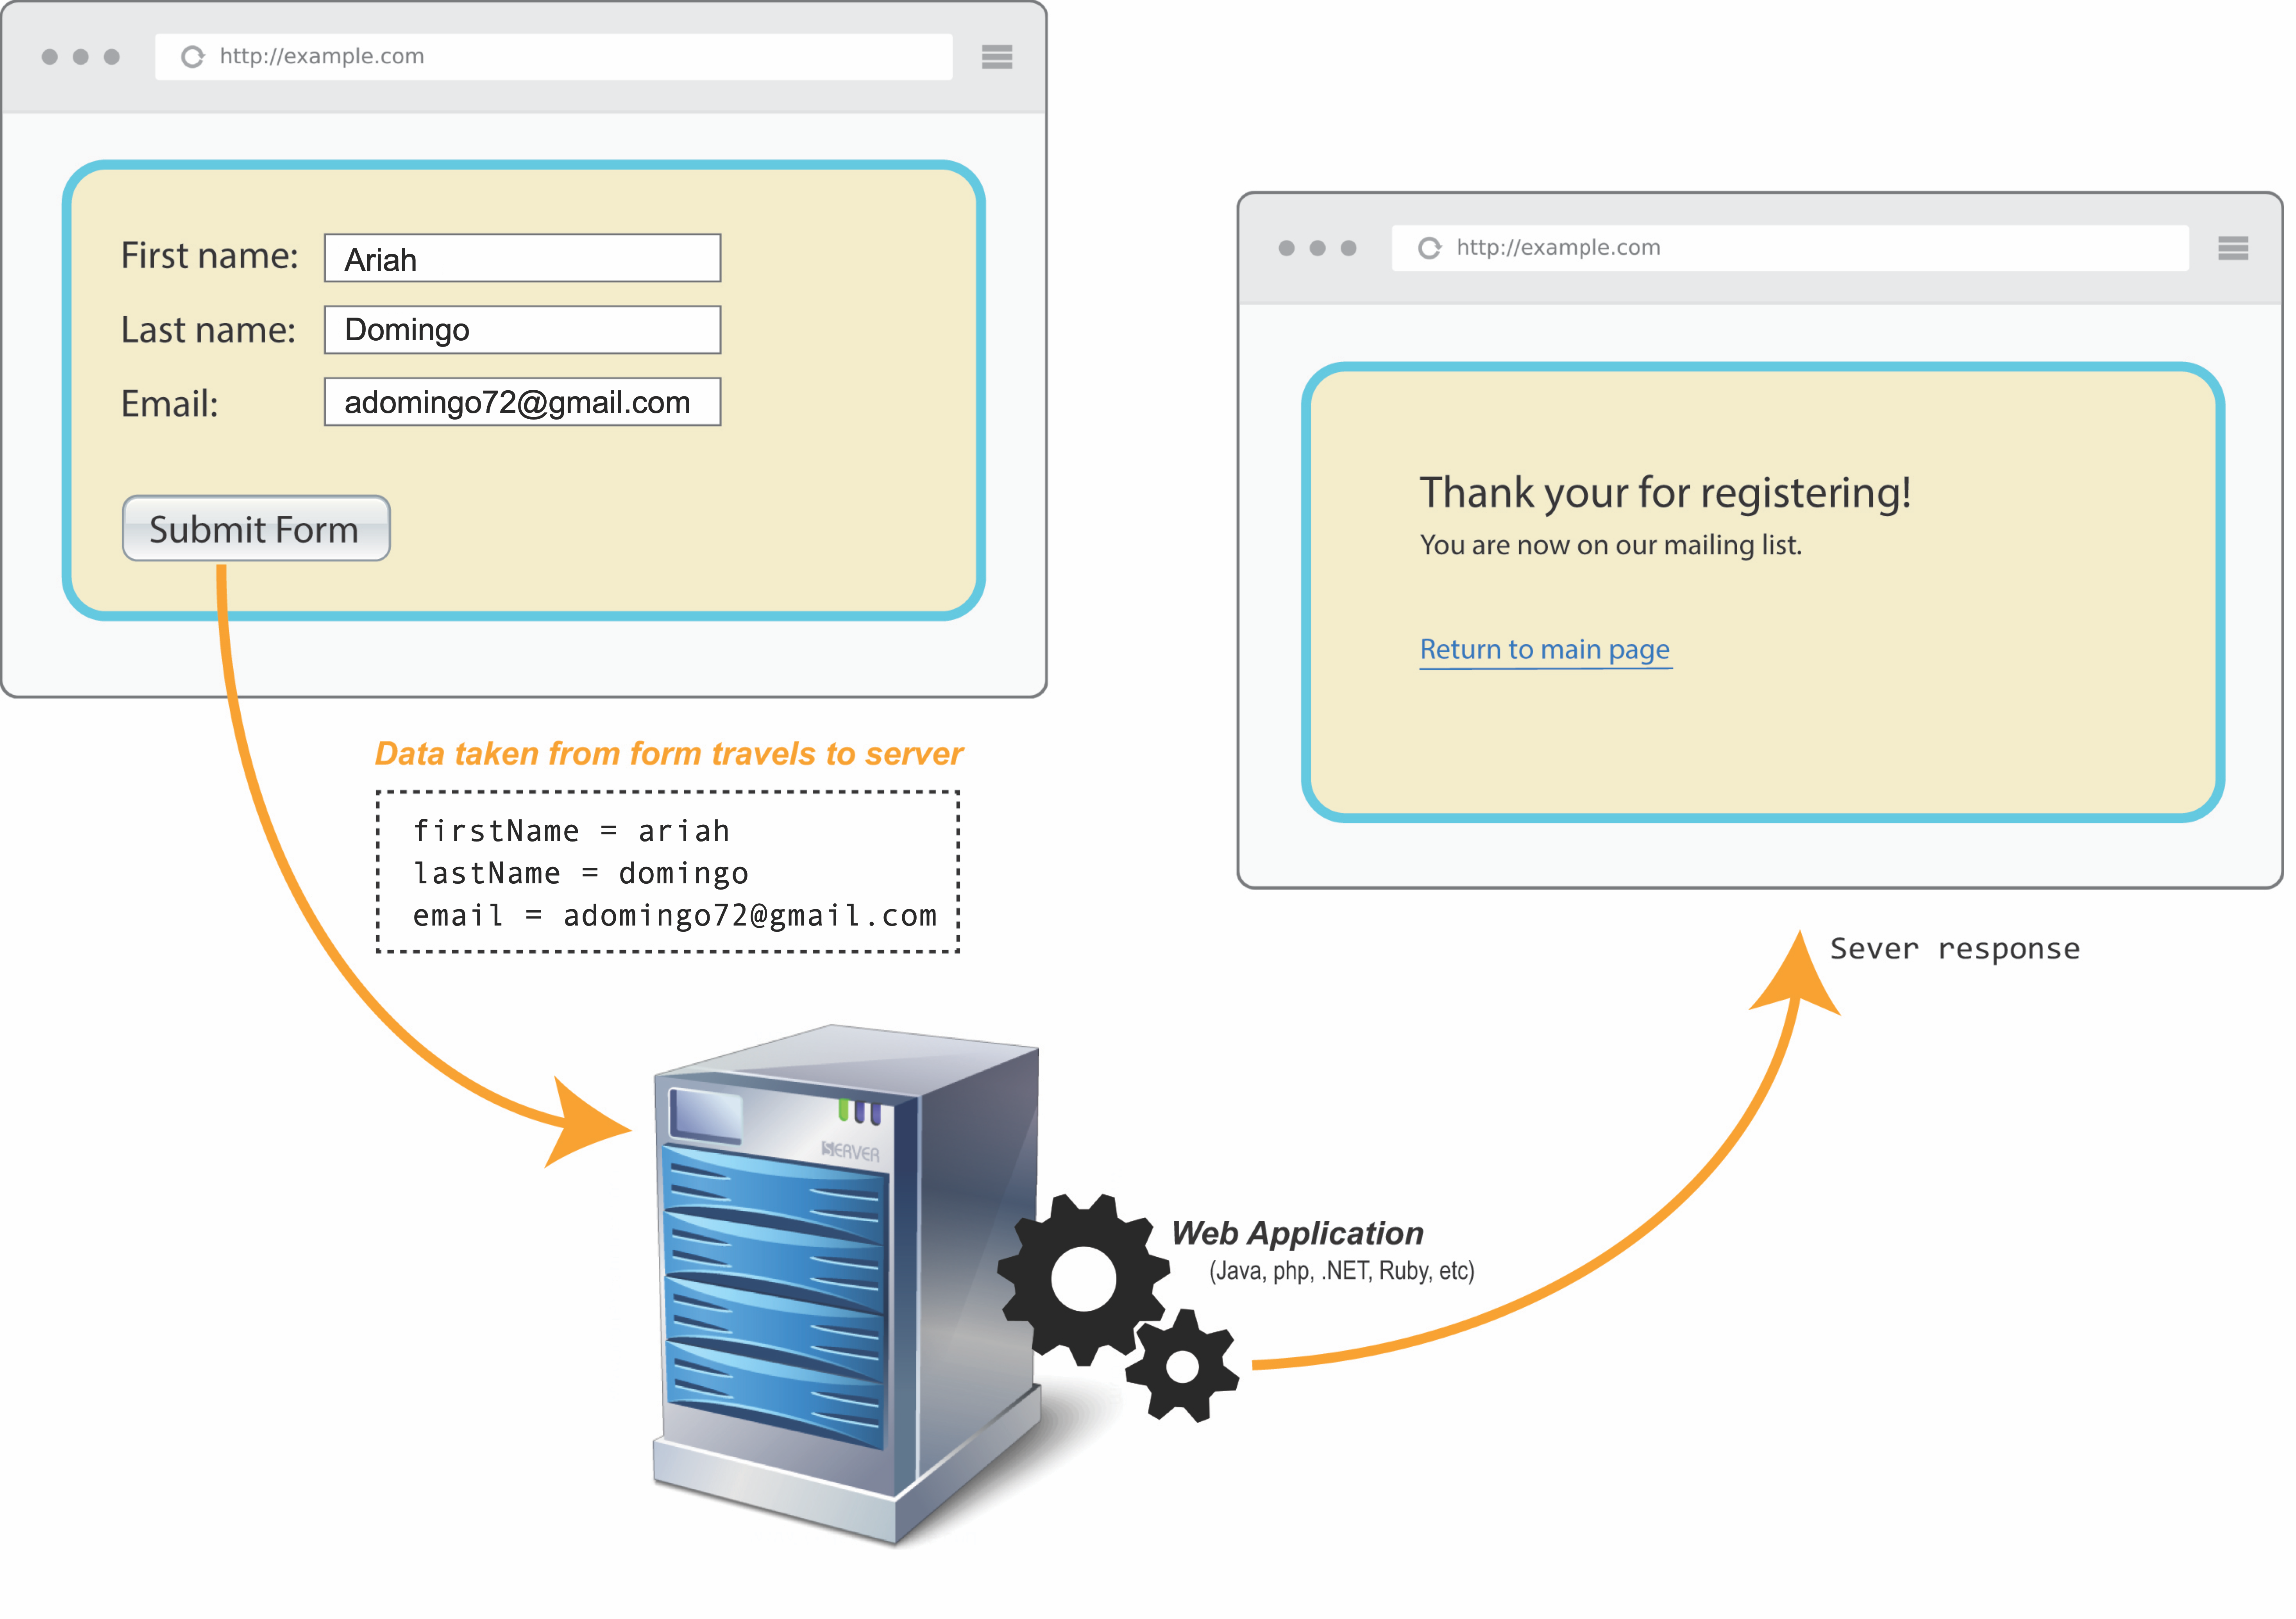
We probably use a form every time we use the Internet. Logging into Facebook, LinkedIn, and Brightspace all require a login form. Forms have two components that make them work. First is the form we see on the webpage.
The form itself contains all the fields, buttons, and dropdown menus used to collect information from the user. Secondly, something happens once the form is submitted. When a user submits the form, all the entered data goes to a server. The server and the application that runs on it processes this information.
- Download week10Demo_forms and open the website in VS Code and your browser.
- After the
<!-- Start your form here -->enter a<form>element. -
The
<form>element has attributes that are important in making the form function. Add the below attributes to the opening tag of the<form>element.<form name="pizzaForm" action="http://itins3.madisoncollege.edu/echo.php" method="post"> </form>-
name: The name attribute simply gives your form a name. The name attribute becomes important once you start working with JavaScript. This value is up to you, but it should contain no spaces and use camel-case for more than one word.
-
action: This attribute tells the form where to send the data once the user clicks submit. It contains an address (URL) to the application that processes the entered data. For this class, we will always be using http://itins3.madisoncollege.edu/echo.php as the value for this attribute. It is the address to a server located here on campus.
-
method: The method attribute tells the browser how the data will go to the server. For this class, the value of this attribute will be post.
-
Form Fields & Inputs
There are many types of data entered into a form. The data can be plain text, passwords, dates, and email addresses, to name a few. The <input> element is used to create entry fields for input.
Notice that it is an empty element, meaning that it contains no content of its own. However, the <input> uses several attributes; you'll learn below. One attribute is the type attribute. The value of this attribute tells the browser what type of data you're expecting the user to enter the field.
Text Input
-
Nested inside the
<form>element create an<input>element that takestextas an input. Refresh your webpage to see the results. Create two of these.<input type="text"> <input type="text">
Password Input
-
Create an
<input>element that takes a password as an input. Refresh your webpage to see the results.<input type="password">Try it!
What happens when you try typing inside a password input element?
Textarea Field
Often, we need to provide the user with enough space to enter a lot of text. This is accomplished with the <textarea></textarea> element. Notice this has both an opening and closing tag.
-
Add a
<textarea>element to the form<textarea></textarea>Our form has a nice selection of input boxes, but it's still not looking like a proper form at this point. Each text field is displaying on the same line. What does this tell you about the
<input>and<textarea>elements? -
Add a couple
<br>elements after each<input>element and the<textarea>to force each field to a new line.
The <label> Element
Our form is looking better, but the users do not know what to enter. We need some labels. Create labels with the <label> element.
-
Above each
<input>and<textarea>element, add an appropriate<label>.<label>First name:</label> <input type="text"> <br><br>Inline or Block?
Is the
<label>element and inline or block-level element?
Explicit Labels
We can associate a label with a field so that when a user clicks on the label, the cursor automatically appears in the associated field. We associate a label with its input element by giving our <input> element an id and using the for attribute on the <label> element. The for and id attributes must be the same value.
-
Add an
idattribute to each<input>element and the<textarea>. -
Add the
forattribute to the<label>element. The value of theforattribute is theidof the associated field.<label for="firstName">First Name:</label> <input type="text" id="firstName"> <br><br> -
In the browser, click on the label element. The cursor should automatically go inside the correct input.
Implicit Labels
You can also accomplish this same behavior by making the <label> element a parent of the <input> element. This eliminates the need to match a for and id attribute; however, this method does not always work with assistive technology like screen readers.
<label>First Name:
    <input type="text" id="firstName">
</label>
Submit
We need to have a way for the user to submit their data once they've completed the form. We create a submit button with the <input> element and an attribute type="submit".
-
Create a submit button. Test the button by filling in the form and clicking the submit button.
<input type="submit"> -
Change the name that appears on the "submit" button by using the
valueattribute.<input type="submit" value="Order Pizza">-
When the user clicks on the submit button, the form grabs the data from the form and sends it to the location indicated in the
actionattribute of our form. In our case, it is going to http://itins3.madisoncollege.edu/echo.php -
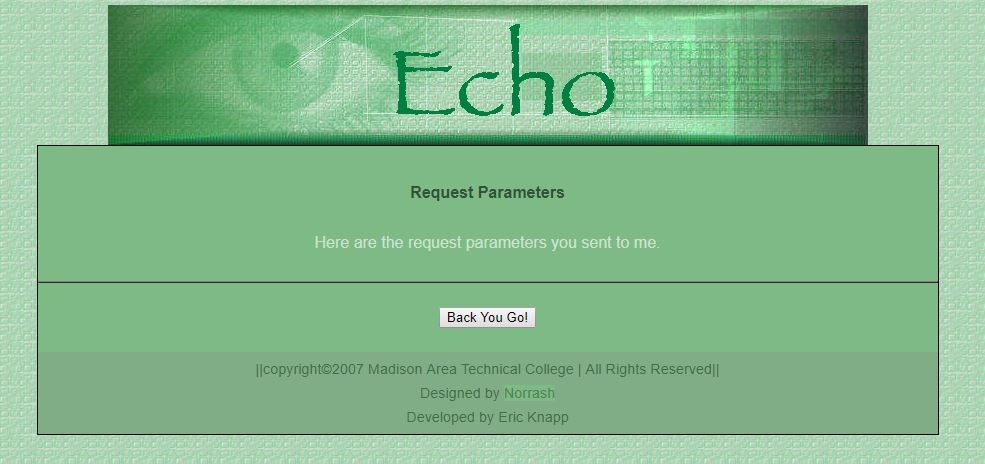
The echo.php is an application that runs on a Madison College server. The application takes all the data entered in the form and dumps in on the green Echo page.
-
However, something is wrong. Do you see any of the data you entered? It should appear on this page, but it's not. We'll fix this shortly.
-
Reset
The reset button is created with the <input> element as well.
-
Create a reset button. Test it out by filling in the form and clicking the reset button.
<input type="reset">- Just like the "Submit" button, you can change the name that appears on the button by using the
valueattribute.
- Just like the "Submit" button, you can change the name that appears on the button by using the
Post vs. Get
Look at the form element and refer to the method attribute we added. This attribute specifies how the data should go to the server.
Change the value of the method attribute to get. Fill out the form in the browser and click the submit button.
Look at the URL, what do you see in there? Not very secure!

Change the method value back to post and resubmit the form. This is the best method for securely sending data over to the server.
For this course, you should always use the post method.
Form Field Attributes
There are several attributes that we can add to the <input> element to enhance our form. Your textbook lists several attributes in more detail.
The name attribute
Earlier the form wasn't working properly. It should be sending the data from our form to the server and then display on the green Echo page. The server is not receiving the data because an important piece is missing: the name attribute.
Each <input> and <textarea> (not including the submit and reset buttons) must have a name attribute to send the data to the server.
The name attribute acts as a container (a variable) to hold the data we enter and send it to the application on the server. Without the name attribute, our data goes nowhere.
-
Add a
nameattribute to our text fields. The value should be something meaningful that describes the data. It needs to start with a lower-case letter, contain no spaces, and follow the camel-case naming format.- It’s common practice to make it the same value as the
id.
<input type="text" id="firstName" name="firstName"/> - It’s common practice to make it the same value as the
-
Add the
nameattribute to each field, fill out your form, and click submit. Did the data come over to the Echo page?You should see the
nameattribute value, followed by the data you entered on the Echo page. The data sent to the server application are called parameters.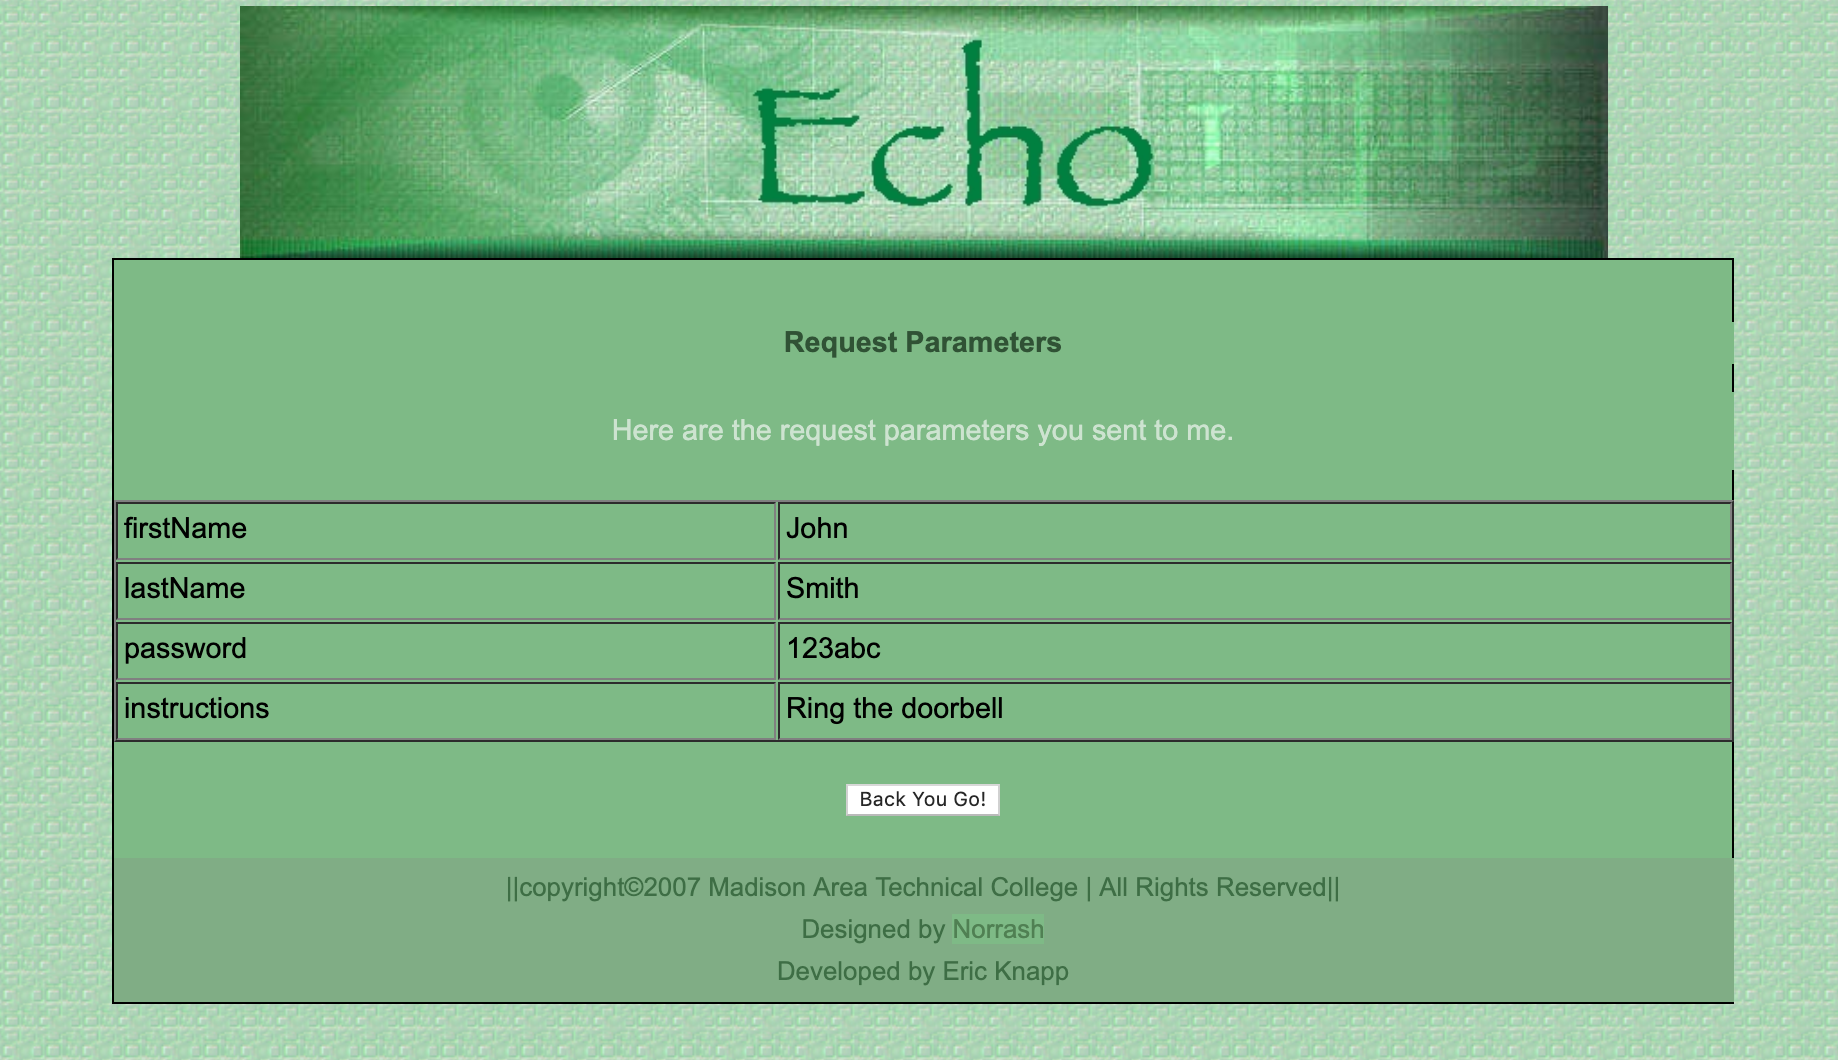
You now have a working form! 
The placeholder attribute
The placeholder attribute provides a short hint of how to fill in the field.
-
Add the
placeholderattribute to the first three<input>elements, and the<textarea>element. Give eachplaceholderattribute an appropriate value to describe the data expected for each field.- The list of attributes is getting rather long, so you can move each attribute to a new line to help legibility.
<input type="text"
        id="firstName"
        name="firstName"
        placeholder="first name">
The size attribute
You can alter the field length by using the size attribute.
-
Add the
sizeattribute to the first<input>element and give it a value of25.<input type="text" id="firstName" name="firstName" placeholder="first name" size="25">
The maxlength attribute
The maxlength attribute specifies the maximum allowed length of text. You can also specify the minlength.
-
Add the
maxlengthattribute to the first<input>element and give it a value of10.<input type="text" id="firstName" name="firstName" placeholder="first name" size="25" maxlength="10">
The value attribute
You can assign a default value to a field by using the value attribute. The value attribute differs from the placeholder attribute, as text in a value attribute will go to the server. It also overrides the placeholder’s value if it is present.
-
Add the
valueattribute to the first name<input>element.<input type="text" id="firstName" name="firstName" placeholder="first name" size="25" maxlength="10" value="Claudia">
The required attribute
Newer browsers support the required attribute. The required attribute indicated the field must contain data before submission.
-
Add the
requiredattribute to the password<input>element. Therequiredattribute does not need a value.<input type="password" id="password" placeholder="password" required>Try submitting the form without providing a password to see what happens.