Week 1 Coding Practice
Purpose
- View the source of a web page in a browser.
- Test the HTML, CSS, accessibility, and the performance of a web page/site.
Textbook Reference
- Chapter 2: How the Web Works (Practice 2-1 View Source page 29)
- Chapter 3: Some Big Concepts You Need to Know
Create Your Directory Structure
- Create a Web Development folder on your hard drive or OneDrive if you do not already have one.
- Inside Web Development, create a folder named practice.
- Within the practice folder, create another folder named practice01.
-
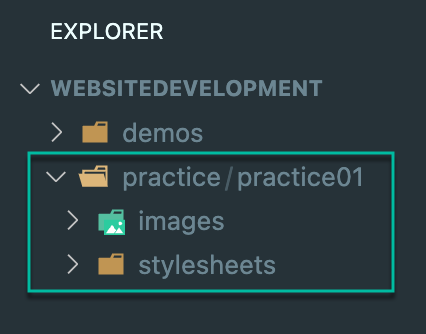
Inside practice01, create two folders:
imagesstylesheets
File and Folder Names
Folder names should use camelCase with no spaces or underscores (except for "Web Development").
For example, you can name your CSS folder
stylesheetsorstyleSheetsboth are acceptable in this class. Just choose one format and stick with it consistently across all practice, demo, and project folders.Your directory/folder structure should look like the following image.
Save HTML file
Gather the HTML page for the Source Code
- Open https://www.learningwebdesign.com/5e/kitchen.html in Chrome.
- Right-click on the page and choose View Page Source.
- Right-click anywhere in the source code and select Save As.
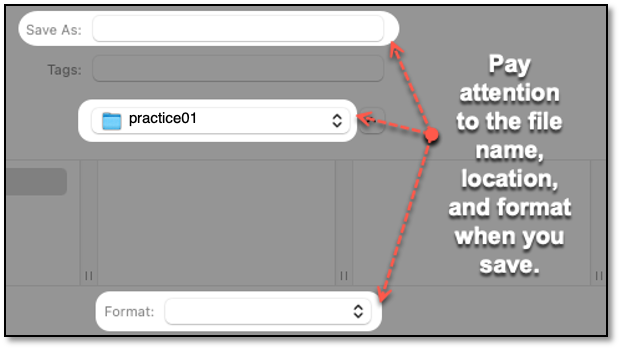
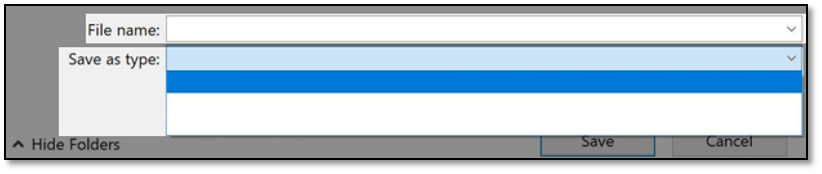
- Save the file in your practice01 folder as
kitchen.html. -
In the Format dropdown, choose Webpage, HTML Only.
The screen captures below may look different depending on if you have Windows or Mac or if any updates have occurred recently.
-
Open
kitchen.htmlusing Live Preview in VS Code to check that it loads (images may not appear yet — that’s OK!).
Save CSS File
-
Return to the original page: https://www.learningwebdesign.com/5e/kitchen.html.
-
Open Developer Tools in Chrome (press
F12or right-click → Inspect). -
Go to the Sources tab and find
kitchen.css.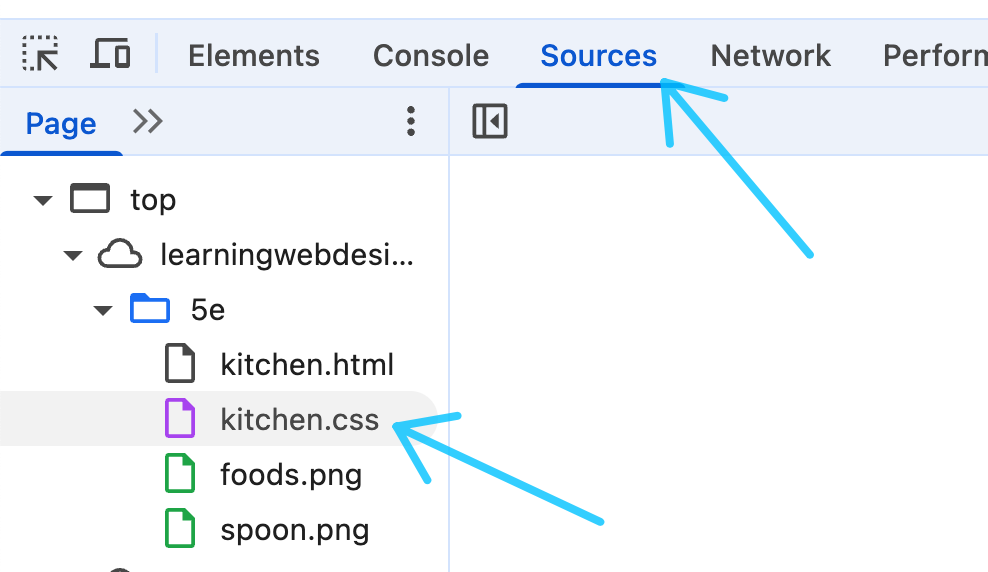
-
Right-click
kitchen.cssand choose Save As.... -
Save the file in the stylesheets folder inside practice01. Name it
kitchen.css.Make sure the file name ends in .css.
Link the CSS File
-
Open
kitchen.htmlin VS Code. -
Find this line (probably around line 6):
<link rel="stylesheet" href="kitchen.css" type="text/css"> -
Update it to include the
stylesheets/path:<link rel="stylesheet" href="styleSheets/kitchen.css" type="text/css">This change tells the browser to look in the stylesheets folder for the CSS file.
-
Refresh the page in your browser. If the CSS is working, the heading should be italicized and teal, and the footer should be gray.
Save the Images
- On the original webpage, right-click the food.png and spoon.png images and choose Save Image As...
- Save both images in your images folder inside practice01.
-
Open
kitchen.htmland update the image paths in the<img>tags to:src="images/food.png" src="images/spoon.png" -
Check that the images now appear in the browser using Live Preview.
Test the HTML
- Go to https://validator.w3.org/
- Select the Validate by File Upload tab
- Select the Choose File button and select the kitchen.html file from your practice02 folder
- Select Check
Save Results as a PDF:
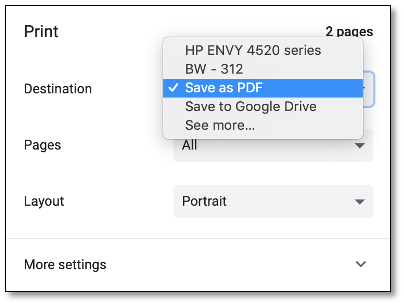
- In Chrome, create a pdf file by printing the page as a pdf
- Windows Shortcut > CTRL + P
- Mac Shortcut > CMD + P
- Or select from the browser: File > Print
-
Change the destination to be Save as PDF
Test CSS
- Go to https://jigsaw.w3.org/css-validator/
- Select the By file upload tab
- Select Choose File and select the kitchen.css file from the stylesheets folder in your practice02 folder
- Select Check
- Save the results as a PDF (same as the HTML results) into your practice02 folder, naming the file cssResults.pdf
Test Accessibility
We will be using a Chrome extension, axe DevTools, to perform accessibility testing. If you are using a Madison College IT computer or laptop axe DevTools should already be installed for you.
Install the axe DevTools
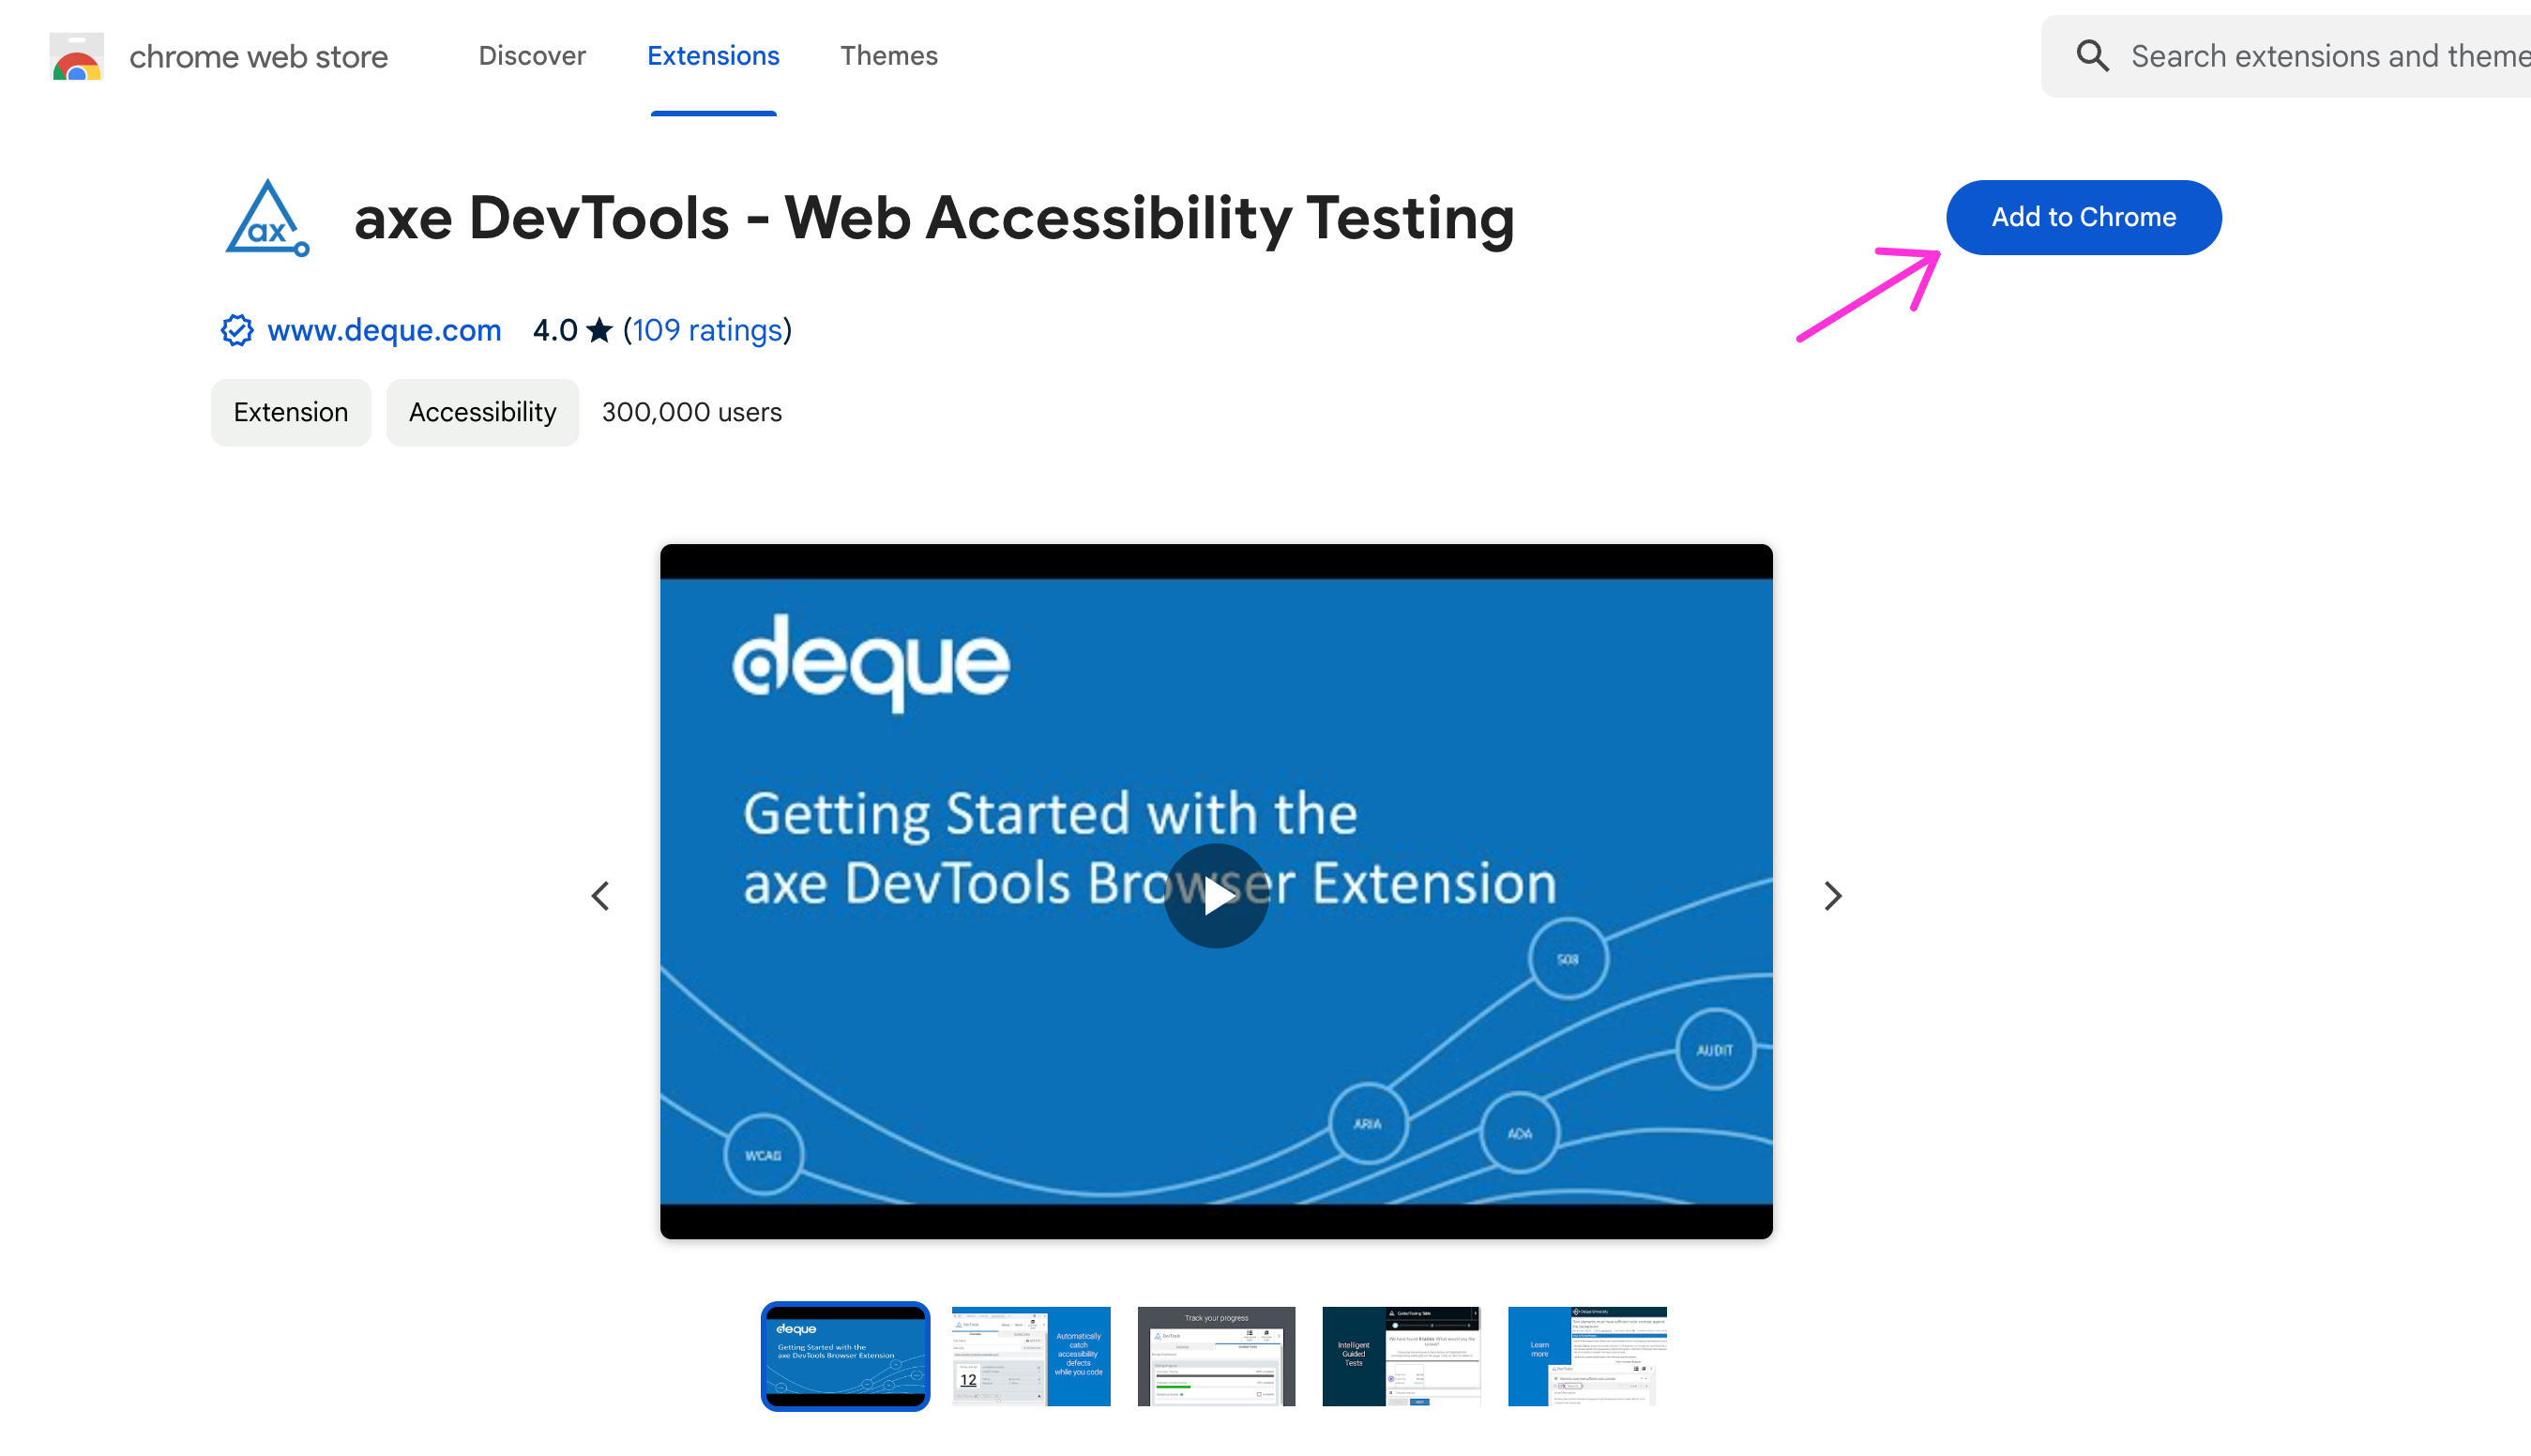
- Install axe DevTools with this link: Axe Devtools link. You can also find the extension by Googling "axe DevTools"
-
Click Add to Chrome.
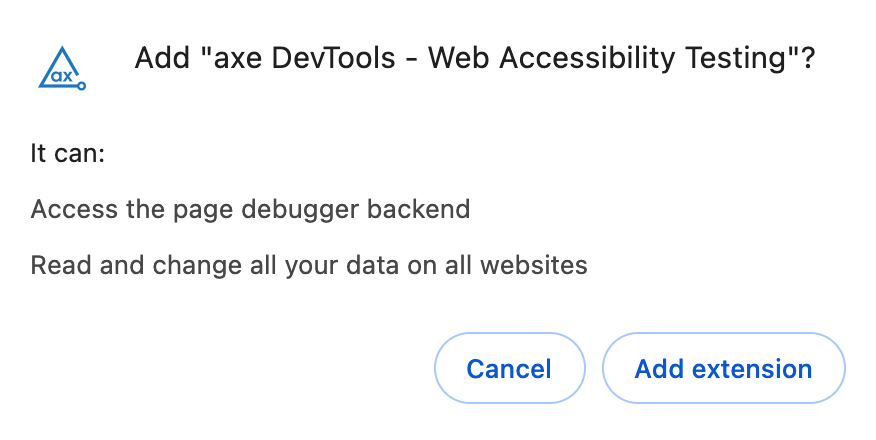
-
A pop-up box will as if you want to add the extension or cancel. Click Add extension.
-
A confirmation box may pop up letting you know it has been added, just close it to continue
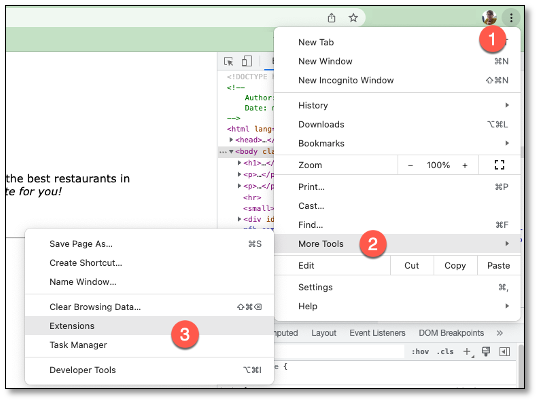
-
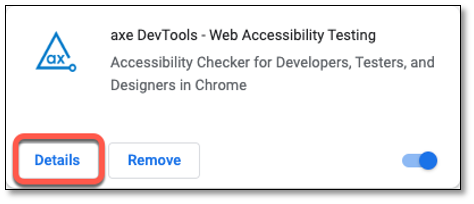
Once installed, go to the upper right corner of Chrome Ellipsis > More Tools > Extensions.
-
In the list of extension, click Details
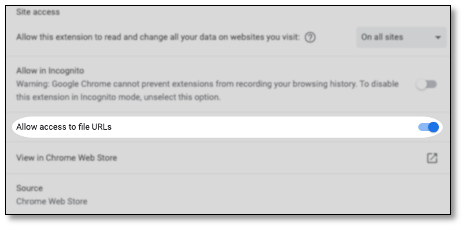
-
Toggle the “Allow access to file URLs” to ON
Run Accessibility Test
- Refresh the kitchen.html page in Chrome.
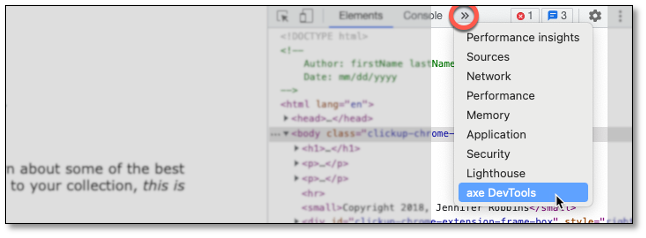
-
Open the Developer Tools and go the axe DevTools tab.
- You may need to click the >> arrows to see it
-
Click the “Scan ALL of my page” option shown below
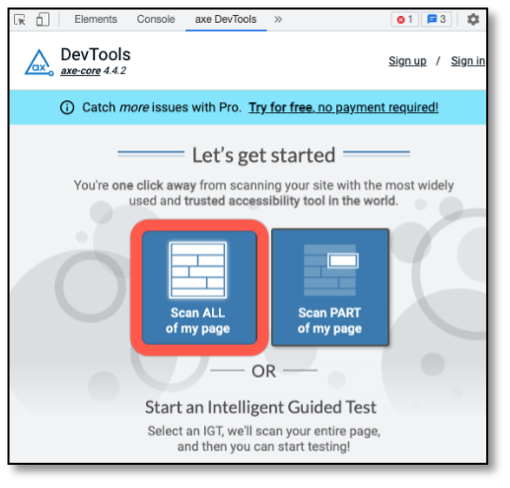
-
Take a Screenshot of the results and save them to your practice02 folder as a .png or .jpg. Name the file axeResults.
Test Site Performance
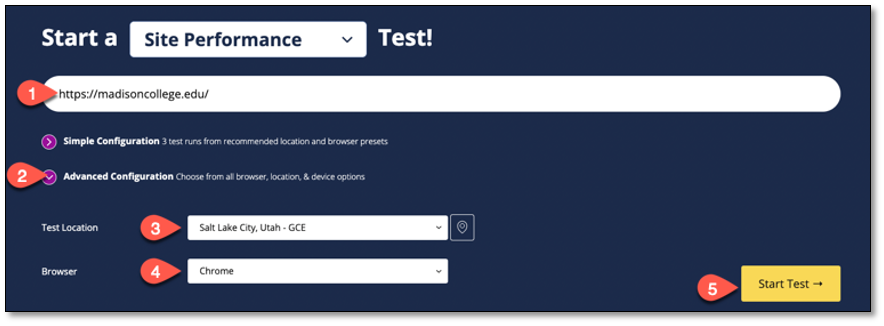
- Go to https://www.webpagetest.org/
- In the Enter a website URL input, enter the URL for Madison College (https://madisoncollege.edu/)
- Open the Advanced Configuration toggle
- Set the Test Location to any location you would like to pick
- Set the Browser to any browser you would like to pick (this may be influenced by your selected
- Test Location)
- Leave all other options as they are and select Start Test ->
-
Let the site run the 3 tests (this may take a while)
-
Save the report by printing it to a PDF to your practice02 folder, name the file performance.pdf
Grading Criteria
- The correct file directory structure exists in the
practice01folder. - The
kitchen.htmlsource file is correctly saved as an html file in thepractice01folder. - The
kitchen.csssource file is correctly saved as an css file in thepractice01folder. - The HTML & CSS tests were successfully performed and the results are saved as a PDF.
- The accessibility test was successfully performed with axe DevTools and the results are saved as a PNG.
- The site performance was successfully performed and the results are saved as a PDF.
- Reflection questions are answered honestly and thoroughly.
- Reflection questions are answered honestly and thoroughly.
Submission
Part 1: Reflection
- Locate the submission link for Practice 1 in Brightspace (Unit 1 > Week 1 > Week 1 Coding Practice).
- Copy the below text (there is a copy icon in the upper-right of the textarea) and paste it into the Comments section.
- Answer the questions in the Brightspace.
Weekly Reflections - Tip
You may find it helpful to copy and paste the questions below in word document, or other text editor, and writing your answers there before pasting them into Brightspace.
1. How are you doing? Are you encountering any issues preventing you from completing this week's assignments? What can I do to better support you this week?


2. Describe one moment in this week’s coding practice that made you say “Oh!” or changed how you understood something. What clicked?


3. What challenges (if any) did you encounter in your learning this week? To help, try using this sentence format: This week, I struggled with ________. I think this challenge came up because ________. To work through it, I ________.


4. What questions (if any) do you have about the material covered this week?
Part 2: Upload .zip
- Compress your entire practice01 folder to a .zip (zipped) file.
- Do not zip the practice or Web Development folders. You should have the following files/folder in the zip file:
- images (folder)
- food.png
- spoon.png
- stylesheets (folder)
- kitchen.html
- validation
- htmlValidation.pdf
- cssValidation.pdf
- axeResults.png (or .jpg)
- performance.pdf
- images (folder)
- Click on "Upload" to upload your .zip file or you can drag and drop it into the submission window.
- Click "Submit"