Practice - Selectors & The Box Model
Purpose
Practice using different CSS selectors and the CSS box model to style a webpage. Practice common CSS debugging techniques.
Textbook Reference
- Chapter 14: Selectors
- Chapter 15: Thinking Inside the Box
Part 1: Add CSS
Directory Structure
- Download the practice-selectorsBoxModel.zip and save it into your practice folder for this course.
- Open the webpage, index.html in VS Code, and the browser.
 Note: Not all the links in this site are live links. That is intentional, they do not need to go anywhere for the purposes of this practice assignment.
External Stylesheet
- Link the style.css document to the index.html document.
-
Test that the CSS document is connected properly by adding a background-color to the
<body>element. For example, add this to your CSS document:body {background-color: teal;} -
If your website has a teal background, your CSS is connected correctly and you can remove the teal background from your CSS document.
1. Global styles
Add these style under the Global box sizing CSS comment in your styles.css document.
-
Set the
box-sizingtoborder-boxon the<html>element. This changes how the browser calculates width and height. Whenbox-sizingis set toborder-box, the declared width includes the content, padding, and border. This makes sizing elements more predictable and prevents unexpected layout overflow.html {box-sizing: border-box;} -
Set all other elements to inherit the
box-sizingvalue. Thebox-sizingproperty does not automatically inherit from parent elements. That means even though you setbox-sizing: border-box;on the<html>element, other elements will still use the default content-box value unless you explicitly tell them to inherit it. Use the universal selector to apply inheritance to all elements:* {box-sizing: inhert;}
2. Base styles
Add these style under the Base page styling CSS comment in your styles.css document.
-
Style the
<body>element to have the following:- 0 margin on ALL sides
- a san-serif font-family
- a line-height of 1.5
- a foreground color (text) like
#1f2937 - a light background color like
#f3f4f6
Setting the margin to 0 on the body gives you a clean, predictable starting point so you can intentionally control all spacing instead of relying on browser defaults. When using the value 0 (zero), you do NOT need to specify units of measurement. -
We haven’t learned how to center block-level elements yet, so for now, copy and paste the following code below your
<body>styles. This code will center the main sections of your page and limit the width so the content is easier to read./* Center the main content for readability */ header#top, main, footer { max-width: 980px; margin-left: auto; margin-right: auto; }
3. Header + Nav styles
Add these style under the Header + nav layout CSS comment in your styles.css document.
Remember to use CSS shortcuts where applicable!
-
Add the following styles to only the
<header id="top">element.- a dark background color like
#111827 - a like foreground color like
#f9fafb - padding around ALL sides (around
1.2rem) - a
6pxbottom border that is solid and a dark grey like#374151
- a dark background color like
-
Add the following styles to
<h1>element that is a child of the<header id="top">- a top, right, and left margin of
0 - a bottom margin of
.5rem - a font-size of
2.2rem
- a top, right, and left margin of
-
Add the following styles to
<p>element that is a child of the<header id="top">- a top, right, and left margin of
0 - a bottom margin of
1rem - a light foreground color like
#d1d5db
- a top, right, and left margin of
Make the top navigation horizontal instead of vertical
-
Step 1: Style the
<ul>in the<nav>element with the following:- remove the bullet points from the list
- add a margin of
0on all sides - ass a padding of
0on all sides
-
Step 2: Style the
<li>elements that are children of the<nav>element with the following:- change the display to be inline-block (
display: inline-block;). This is to make the list items behave like inline elements AND to take a margin. - add a margin on the right of about
.8rem
- change the display to be inline-block (
4. Link Styles
Add these style under the Links CSS comment in your styles.css document.
-
Style the link's unvisited state with the following:
- a purple color like
#8b098d - remove the underline
- a purple color like
-
Style link's visited state to be a light blue like
#77a8bd - Style the links's focused and active states to be
bold - Style link's hover state to be a dark blue like
#073775 -
Style JUST the links that are children of the
<nav>element to have the following styles in an unvisited and visited state.- change the display property to
inline-block(this is so we can add padding to an inline element) - add
8pxof padding to the top and bottom - add
12pxof padding to the right and left - add a
solid,2px, border in light blue like#4ac6e9 - round the border on all sides to around
1rem
- change the display property to
-
Style JUST the links that are children of the
<nav>element to have the following styles in a hover state.- add a dark gray background like
#374151 - add a light border color like
#f9fafb - add a light foreground color like
#f9fafb
- add a dark gray background like
5. Special Links
Add these style under the Special Links CSS comment in your styles.css document.
-
Style external links to have an
underlineby using an attribute selector to target the links that start with "https:". Verify that the two external links now have an underline.a[href^="https:"] {text-decoration: underline;} -
Style the link that reads "Download the cipher worksheet (pdf)" to be
boldwith an attribute selector. Hint: use thehrefattribute and 130-132 of your textbook. Verify that the PDF link isbold.
6. Main Content & Sections
Add these style under the Main content + sections CSS comment in your styles.css document.
- Add 2rem of padding around ALL sides of the
<main>element. -
Style all
<section>in the<main>to have the following styles:- a
solid,2pxborder with a light color like#e5e7eb - a border radius around
1rem - padding on all sides, around
1.5rem - top and bottom margins around
1.5remwith0right and left margins
- a
7. Card Styles
Add these style under the Event Cards CSS comment in your styles.css document.
-
Style the
<header>elements that are children of the<section id="events">element with the following:- add a bottom border that's
2pxin width,solid, and a light color like#e5e7eb
- add a bottom border that's
-
Style all articles with the
class="card"as follows:- add a border that's
2pxin width,solid, and a light color like#e5e7eb - add a border radius around
1rem - add padding around all sides around
1rem - add a top and bottom margin around
.8remwith0right and left margins
- add a border that's
-
Style the
class="time"elements by making them dark gray like, #60758C -
OPTIONAL BONUS: Add a clock emoji before the
class="time"elements by using the::beforepseudo-element and the unicode value for the clock emoji"\1F551" -
OPTIONAL BONUS: Style the list items that are children of the
class="card"elements. Make every other list item a light background color like#f3f4f6.Hint: use thenth-child()selector
8. Footer Styles
Add these style under the Footers CSS comment in your styles.css document.
- Style the paragraph in the footer to be about
.7remandcentered.
Example
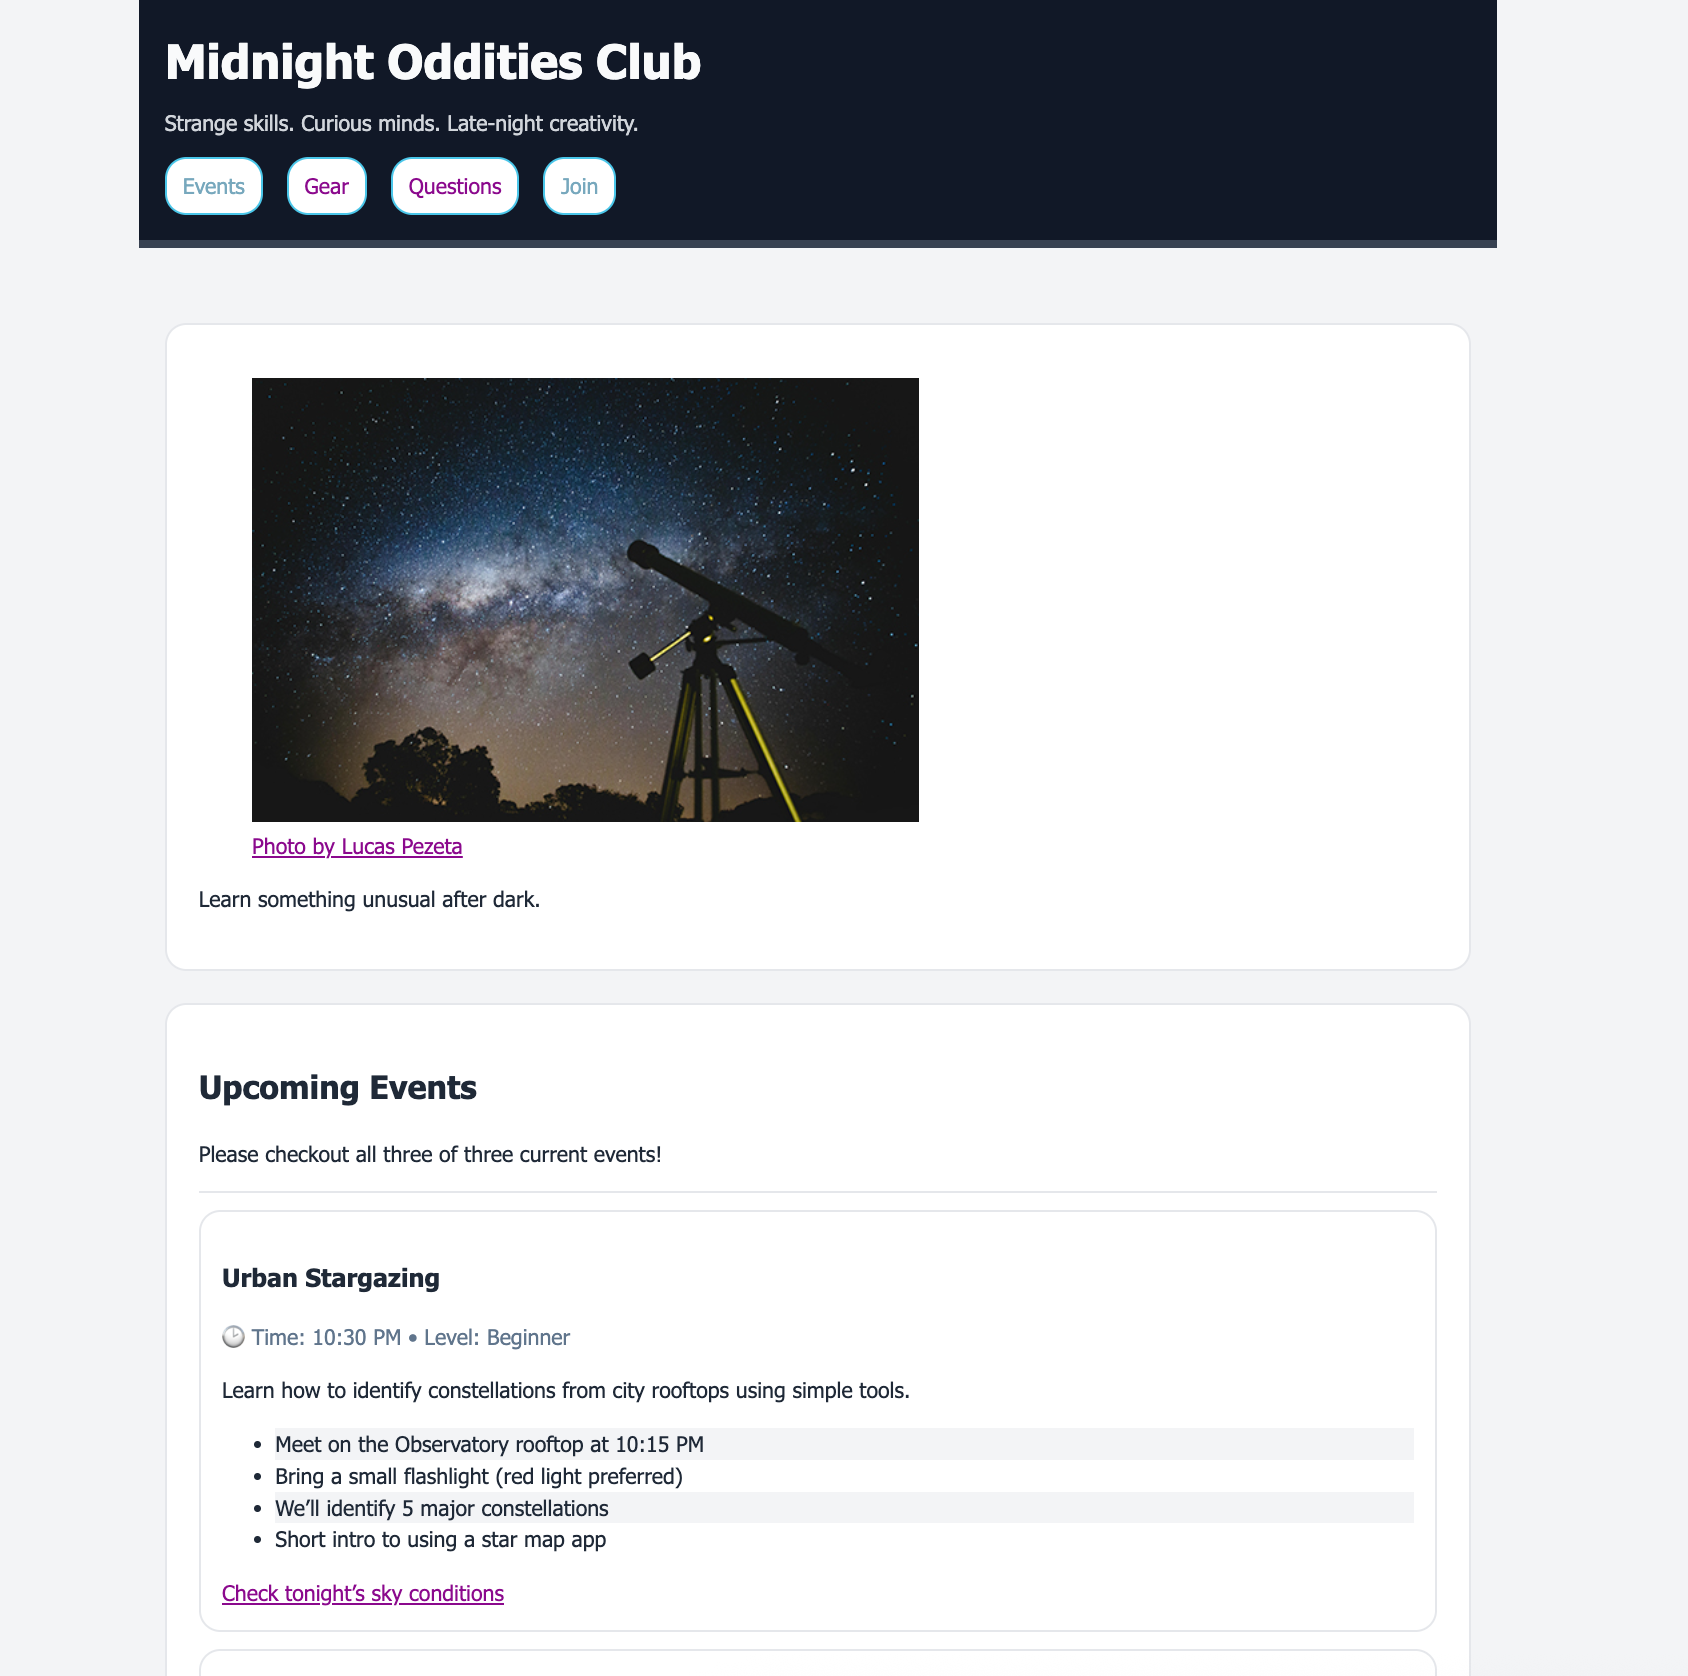
This is just showing the top portion of the site:
Part 2: Debugging CSS
Bug 1: Broken file path
-
Break your external CSS link by chaging the stylesheet link to the wrong path:
<link rel="stylesheet" href="style/styles.css"> -
In your Browser, refresh the website and open your Developer Tools.
- In the Networking tab, locate a 404 error about the
styles.css(you may need to refresh the page again) - Filter the results by choosing the CSS button, and take a screenshot.
- Name the screenshot brokenCSS.png and save it in your screenshots folder.
- Repair the broken external CSS link.
- Reflection Question: How can you use the Developer Tools to find file path problems?
Bug 2: CSS order
-
In the styles.css sheet under the comment "Links," rearrange the styles for the
<a>element in this order.a:hover--> change the color change to something very obvious, like red.a:linka:visiteda:focus&a:active
-
Inspect a the "Check tonight's sky conditions" with the Chrome Developer Tools, like one of the links in the even cards.
- Use the :hov to toggle
:hoverand:visited- Watch which rules are crossed out and which are applied while toggling these two state.
- Take a screenshot of one of your observations of the :hov panel, name it hovPanel.png and save it to your screenshots directory.
- Make a note of your observations for the reflection below.
- Place the pseudo-classes selectors back in the original order. (
:link,:visited,:focus&:active,:hover) - Change the
:hovercolor back to the original color, like #073775; - Reflection Question: Why did the
:hoverpseudo-class selector not work when the order was changed?
Bug 3: CSS Inheritance & Specificity
-
Add this near the top of your styles.css document
p {color:hotpink;} -
Inspect the paragraph in the
<header>and a paragraph in the<main> - Take a screenshot of one of these observations in the Style pane, name it cssBehavior1.png and save it to your screenshots directory.
- Observe and note your findings for the reflection below.
- Reflection Question: Why does the hotpink effect one paragraph and not the other?
CSS Validation
- Go to https://jigsaw.w3.org/css-validator/
- Click on the by File Upload option
- Click on the Choose file button and navigate to the location of your CSS document.
- Click the Check button
- Print and save as a PDF and save the validation in a folder called validations in your practice-cssIntro folder
- Name the PDF cssValidation.pdf
Grading Criteria
- The correct file directory structure exists in the
practice-selectorsBoxModelfolder along with the CSS validation. - All course coding standards have been followed.
- The CSS styles have been implemented correctly.
- CSS shortcuts are used where appropriate.
- CSS selectors are used appropriately and in alignment with the above requirements.
- Reflection questions are answered correctly and thoroughly.
Submission
Part 1: Reflection
- Locate the submission link for this assignment in Brightspace: Unit 2 > Practice > Practice - Selectors & Box Model.
- Copy the below text (there is a copy icon in the upper-right of the textarea) and paste it into the Comments section.
- Answer the questions in the Brightspace.
1. How are you doing? Are you encountering any issues preventing you from completing this week's assignments? What can I do to better support you this week?


2. In regards to "Bug 1," How can you use the Developer Tools to find file path problems?


3. In regards to "Bug 2,"  Why did the :hover pseudo-class selector not work when the order was changed?


4. In regards to "Bug 3," Why does the hotpink effect one paragraph and not the other?


4. What questions (if any) do you have about the material covered this week?
Part 2: Upload .zip
- Compress your entire practice-selectorsBoxModel folder to a .zip (zipped) file.
-
Do not zip the practice or Web Development folders. You should have the following files/folder in the zip file:
- images (folder)
- nightsky.jpg
- stylesheets (folder)
- styles.css
- validations (folder)
- 1 CSS validation file
- index.html
- images (folder)
-
Click on "Upload" to upload your .zip file or you can drag and drop it into the submission window.
- Click "Submit"