Lab 0 - Unit 2 Setup
There are two sets of instructions below, complete the instructions appropriate for your situation.
Set up for those DONE with Project 1
Set up for those NOT DONE with Project 1
DONE with Project 1
-
Here's the a new build.xml file for Unit 2. Download it to your computer. Then copy (drag and drop) it into your projects directory on codespaces. Then rename it
build.xml. It will replace the one that’s there now. Only replace thebuild.xmlfrom Project 1 if you are done with Project 1. -
Download the latest Analyzer App tests: java112Tests.jar - Copy it into your projects/lib directory, replacing the one that’s there now. - CAUTION! Don't download this until you are done with project 1! Project 1 will not pass these tests. This is for project 2 only!
-
Run this command:
ant init$ ant init Buildfile: /home/student/projects/build.xml init1: [echo] Initialization for project 1 completed init2: [mkdir] Created dir: /home/student/projects/dist [mkdir] Created dir: /home/student/projects/build/WEB-INF [mkdir] Created dir: /home/student/projects/build/WEB-INF/classes [mkdir] Created dir: /home/student/projects/build/WEB-INF/lib [mkdir] Created dir: /home/student/projects/config [mkdir] Created dir: /home/student/projects/public_html [mkdir] Created dir: /home/student/projects/public_html/images [mkdir] Created dir: /home/student/projects/src/java112/project2 [mkdir] Created dir: /home/student/projects/src/java112/utilities [echo] Initialization for project 2 completed init3: init4: init: [echo] Initialization Complete BUILD SUCCESSFUL Total time: 0 secondsThis will create the new directory structure needed for project 2.
NOT DONE with Project 1
If you are not done with project 1 then you will need to have different build.xml files for projects 1 and 2. There are some things we can do on project 2 that won't interfere with project 1. To switch between projects 1 and 2 we will need to switch the build.xml files. We'll do it like good and lazy developers, with a script.
Step 1
-
Start by downloading the project 2 build.xml file. Name it
build_2.xmlfor now.At this point you should have this in your
projectsdirectory.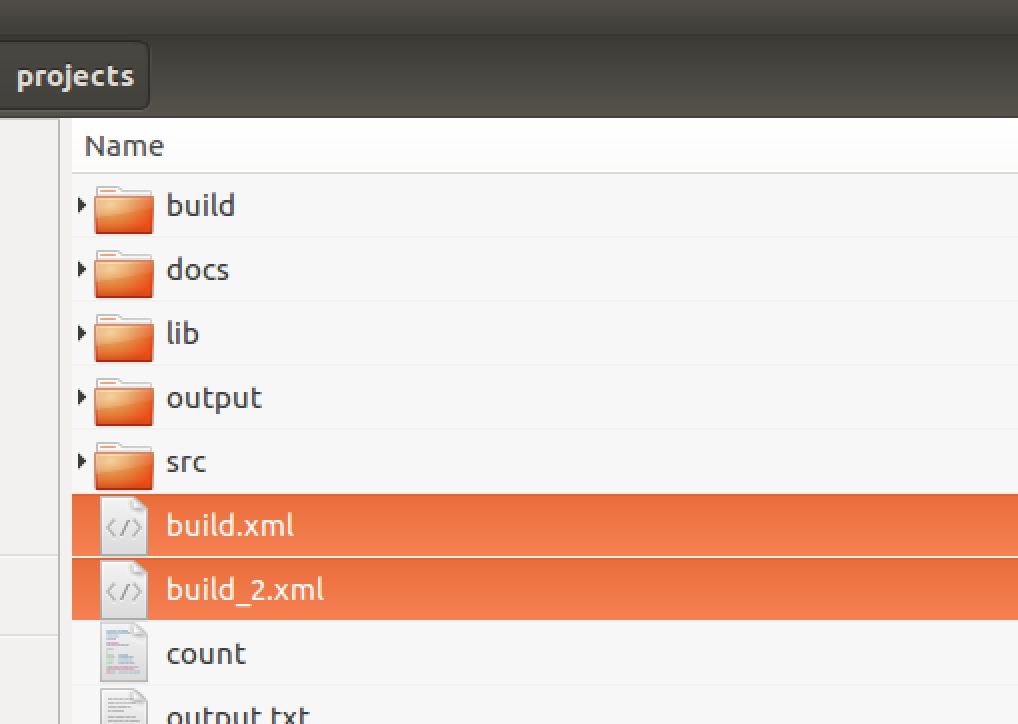
When you see these files you are set for working on project 1 only.
Step 2
- Create a new file.
- Copy the following script code and paste it into the new file.
- Save it to your
projectsdirectory with the nameswitch.sh.
#! /bin/bash

if [ -e build_1.xml ]
then
    echo "switching to project 1"
    mv build.xml build_2.xml
    mv build_1.xml build.xml
else
    echo "switching to project 2"
    mv build.xml build_1.xml
    mv build_2.xml build.xml
fi
Step 3
-
Open a terminal window and navigate to your projects directory.
-
Make the new script executable with like this:
-
$ chmod +x switch.sh
Step 4
Run the script like this:
$ ./switch.sh
You'll see output like this:
student@ubuntu:~/projects$ ./switch.sh
switching to project 2
When you want to switch to project 1 just run the command again.
$ ./switch.sh
You'll see when you have switched to project 1.
student@ubuntu:~/projects$ ./switch.sh
switching to project 1
You can run the command any time you aren't sure which project you are in.
Step 5
-
Switch to project 2 with the
switch.shscript. -
Run this command:
ant init$ ant init Buildfile: /home/student/projects/build.xml init1: [echo] Initialization for project 1 completed init2: [mkdir] Created dir: /home/student/projects/dist [mkdir] Created dir: /home/student/projects/build/WEB-INF [mkdir] Created dir: /home/student/projects/build/WEB-INF/classes [mkdir] Created dir: /home/student/projects/build/WEB-INF/lib [mkdir] Created dir: /home/student/projects/config [mkdir] Created dir: /home/student/projects/public_html [mkdir] Created dir: /home/student/projects/public_html/images [mkdir] Created dir: /home/student/projects/src/java112/project2 [mkdir] Created dir: /home/student/projects/src/java112/utilities [echo] Initialization for project 2 completed init3: init4: init: [echo] Initialization Complete BUILD SUCCESSFUL Total time: 0 secondsThis will create the new directory structure needed for project 2.
Step 6
- When you complete Project 1, download the latest Analyzer App tests: java112Tests.jar
- Place it in the projects/lib directory, replacing the one that’s there now.
CAUTION! Don't download this until you are done with project 1! Project 1 will not pass these tests. This is for project 2 only!
Screenshots
To receive credit for this lab save a screenshot in the projects/screenshots/week5 directory.
lab0-project-directory.png: Your projects directory in codespaces.
Add, commit, and push and verify all work, including screenshots are visible in GitHub.
Rubric
All of the following must be satisfied to achieve a "Met" status
- Screenshot clearly shows file structure.